In this post, I share my experience of canceling my pCloud accounts and migrating the data to a Virtual Private Server (VPS) using Rclone. The primary motivation was to consolidate my cloud storage accounts for simplicity and cost efficiency. I explored multiple backup methods, including zip downloads, WebDAV, and the pCloud app, but ultimately relied on Rclone for its reliability and automation capabilities. The post also covers the challenges I faced, such as slow transfer speeds and file duplication, and how I addressed them.
इस पोस्ट में, मैंने अपने pCloud खातों को रद्द करने और डेटा को Rclone का उपयोग करके एक वर्चुअल प्राइवेट सर्वर (VPS) पर ट्रांसफर करने के अनुभव को साझा किया है। मुख्य उद्देश्य क्लाउड स्टोरेज खातों को सिंपलिफाई करना और लागत को कम करना था। मैंने ज़िप डाउनलोड, WebDAV, और pCloud ऐप जैसे कई बैकअप तरीकों का इस्तेमाल किया, लेकिन अंत में Rclone पर भरोसा किया क्योंकि यह अधिक विश्वसनीय और स्वचालित है। इस पोस्ट में धीमी ट्रांसफर स्पीड और फाइल डुप्लिकेशन जैसी चुनौतियों और उनके समाधानों के बारे में भी बताया गया है।
Introduction
Managing multiple cloud storage accounts can quickly become cumbersome. As someone who values simplicity and efficiency, I decided to consolidate my digital storage solutions. This led me to cancel my pCloud accounts, a Switzerland-based cloud storage provider I had used for years. However, before taking the leap, I needed to ensure all my data was securely backed up and migrated to a new location.
My journey involved experimenting with various backup methods, including manual downloads, WebDAV, and the pCloud app. But the real game-changer was Rclone, an open-source command-line tool that allowed me to automate and streamline the entire process.
Why Cancel pCloud?
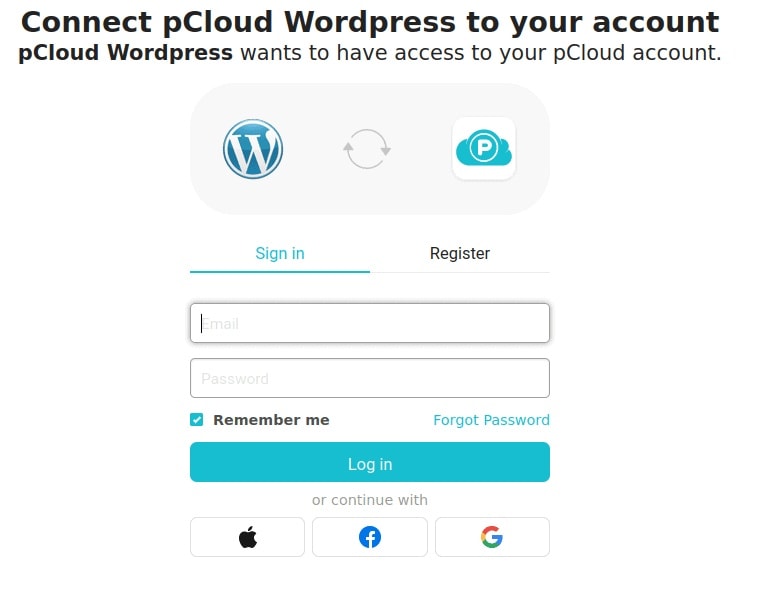 pCloud WordPress Connection
The decision to cancel pCloud was not made lightly. Here’s why I ultimately chose to move on:
- Consolidation: I wanted to reduce the number of active cloud storage accounts to simplify management.
- Cost Efficiency: Maintaining multiple subscriptions was no longer justifiable for my needs.
- Data Redundancy: I needed a more reliable and centralized backup solution that didn’t depend on a single provider.
Exploring Backup Methods
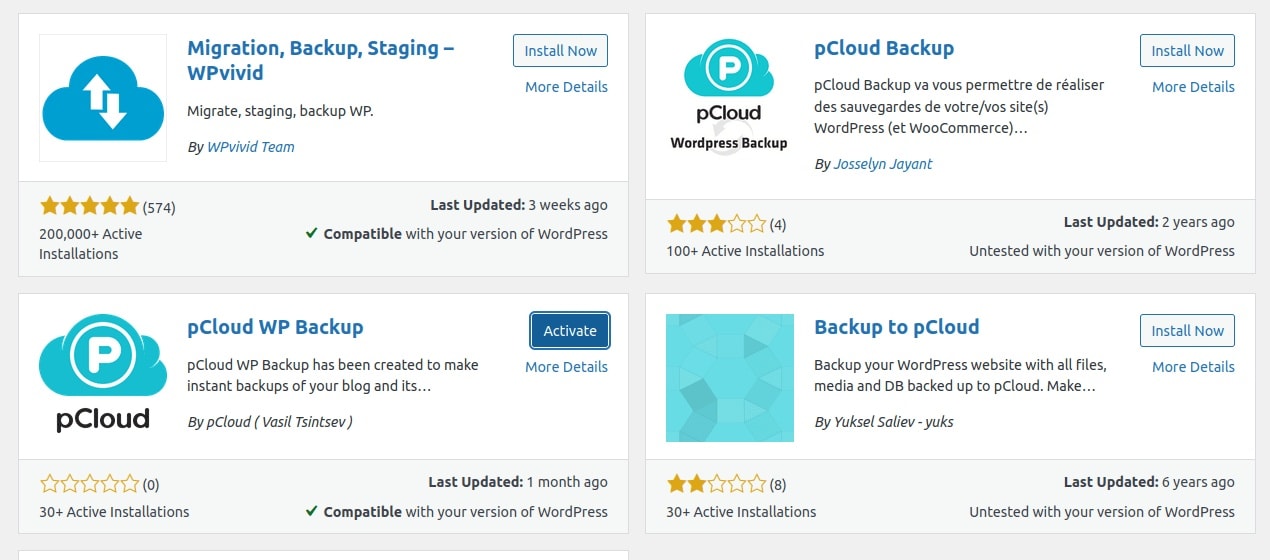 pCloud's native backup plugin in action.
Before settling on Rclone, I tried several methods to back up my data:
Manual Backup
I started by downloading zip folders of my most critical data. While this method worked for smaller files, it quickly became impractical for larger datasets.
WebDAV
I used WebDAV to access and sync files directly. However, the process was slow, and I encountered errors that led to file duplication.
pCloud App
The pCloud desktop app allowed me to sync local folders with my cloud storage. But, like WebDAV, it suffered from slow transfer speeds and occasional mid-process errors.
These methods were functional but far from ideal. I needed a more robust solution.
Enter Rclone: The Ultimate Backup Tool
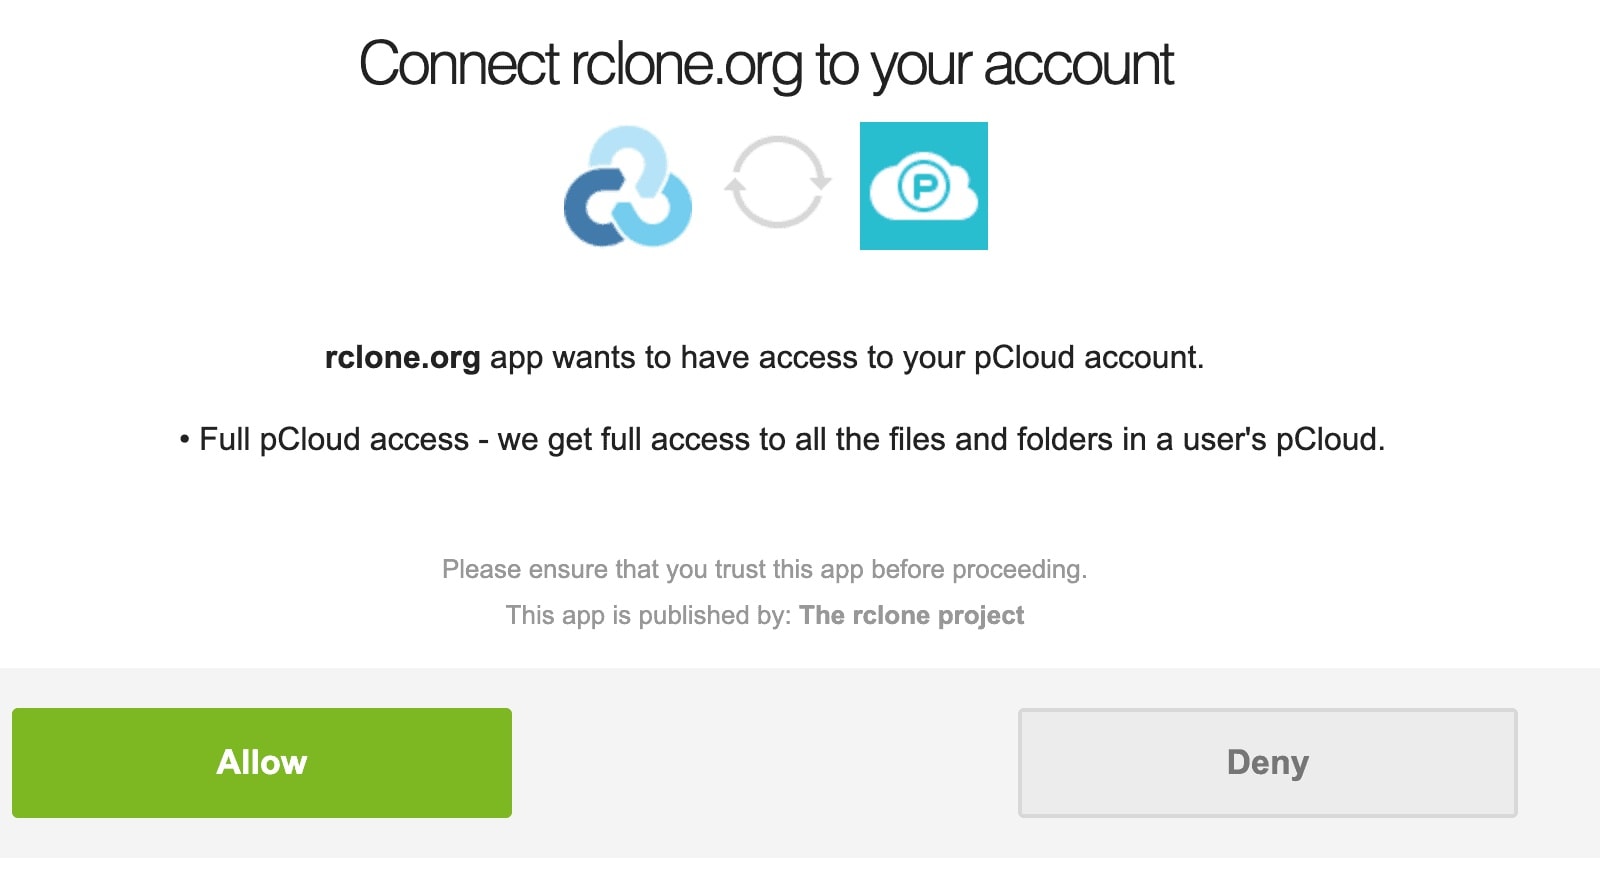 Configuring Rclone to connect with pCloud.
Rclone proved to be the tool I needed. As an open-source command-line program, it offered the flexibility and power to handle large-scale data transfers efficiently. Here’s how I set it up:
Step 1: Configure Rclone
I followed the official Rclone documentation to configure Rclone for pCloud. The process involved selecting pCloud as the storage provider and authorizing Rclone to access my account.
Step 2: Create a Backup Script
To automate the backup process, I created a shell script named backup.sh. This script syncs data from a local directory to a designated folder in my pCloud account.
#!/bin/bash
SOURCE="/path/to/your/data"
DESTINATION="remote_name:backup_folder"
rclone sync "$SOURCE" "$DESTINATION" --log-file /path/to/your/log/file.log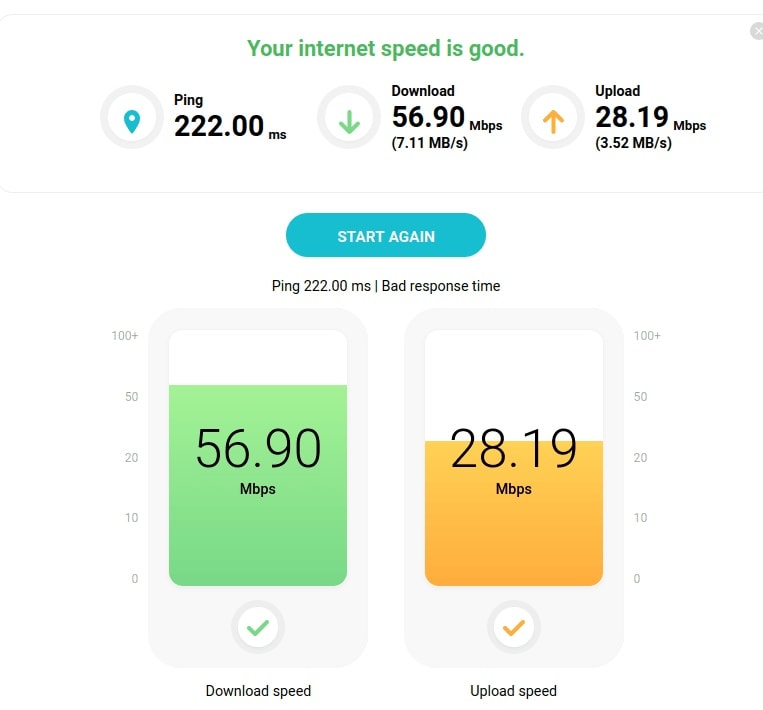 Speed test results using pCloud.
Step 3: Make the Script Executable
I made the script executable with the following command:
chmod +x backup.shStep 4: Test the Script
Before relying on the script, I tested it to ensure it worked as expected:
./backup.sh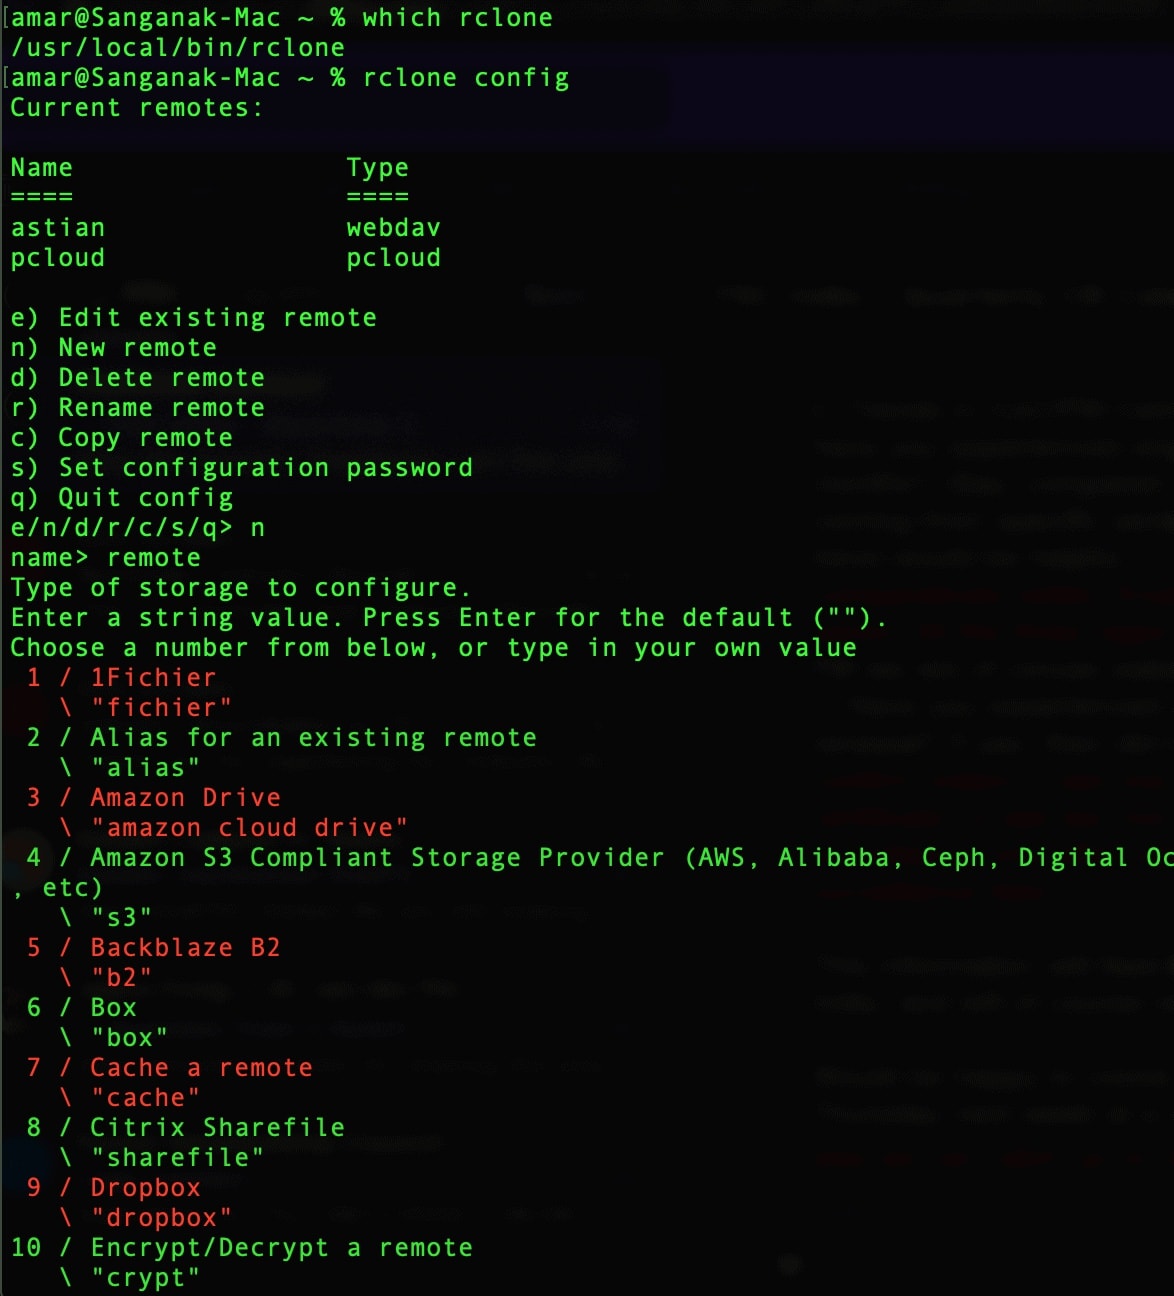 Configuring RClone with pCloud
I verified that the data was correctly backed up in my pCloud account.
Step 5: Schedule the Backup
To ensure regular backups, I scheduled the script to run daily at 3:00 AM using cron jobs:
0 3 * * * /path/to/your/backup.shThis automation gave me peace of mind, knowing my data was consistently backed up without manual intervention.
Challenges and Solutions
While Rclone was a significant improvement over other methods, I still faced challenges:
| Challenge | Solution |
|---|---|
| Slow transfer speeds | Used Rclone’s multi-threaded transfers to speed up the process. |
| File duplication | Carefully verified backups and cleaned up duplicates manually. |
| Mid-process errors | Retried failed transfers using Rclone’s --retries flag. |
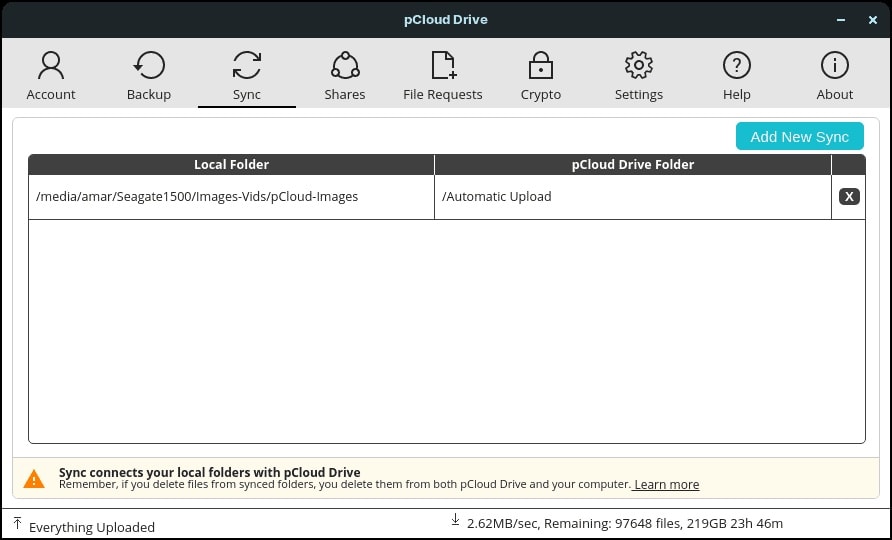
Deleting the pCloud Account
Once I confirmed that all my data was securely backed up, I proceeded to delete my pCloud account:
- Initiate Deletion: I navigated to pCloud’s account settings and clicked the "Delete Account" button.
- Email Confirmation: I received an email asking me to confirm the deletion request.
- Password Verification: As a final step, I entered my account password to authorize the deletion.
With that, my pCloud account was permanently closed.
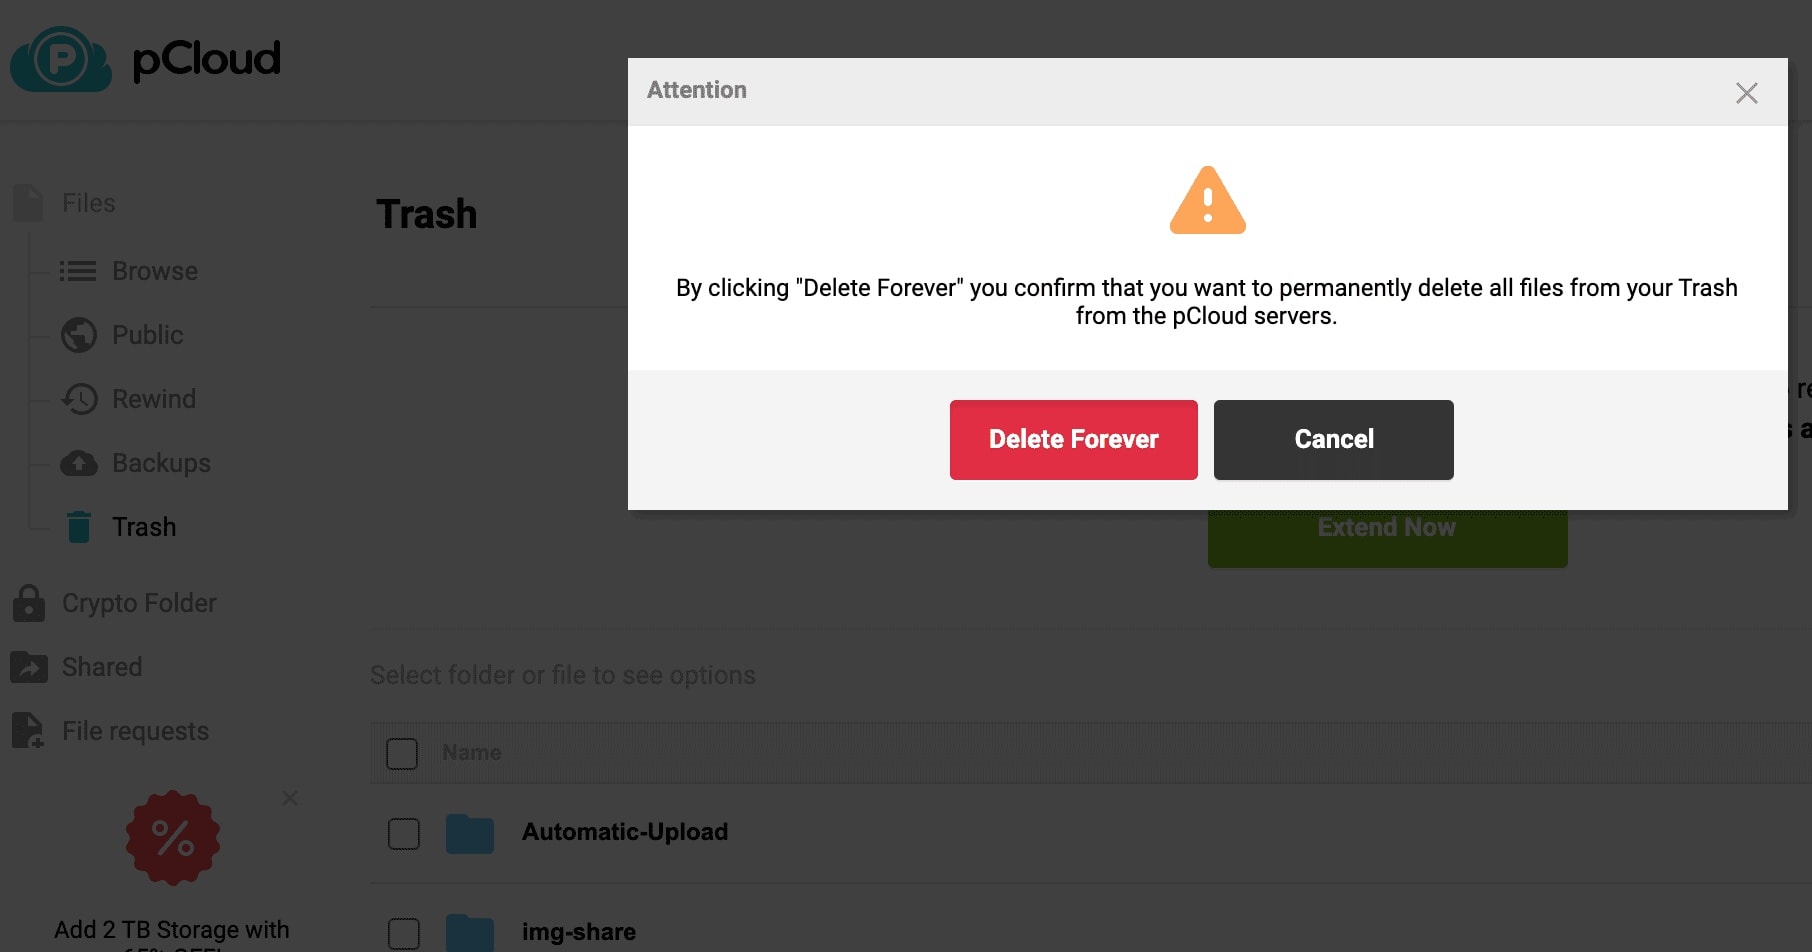 Rclone transferring files from pCloud to VPS.
Lessons Learned
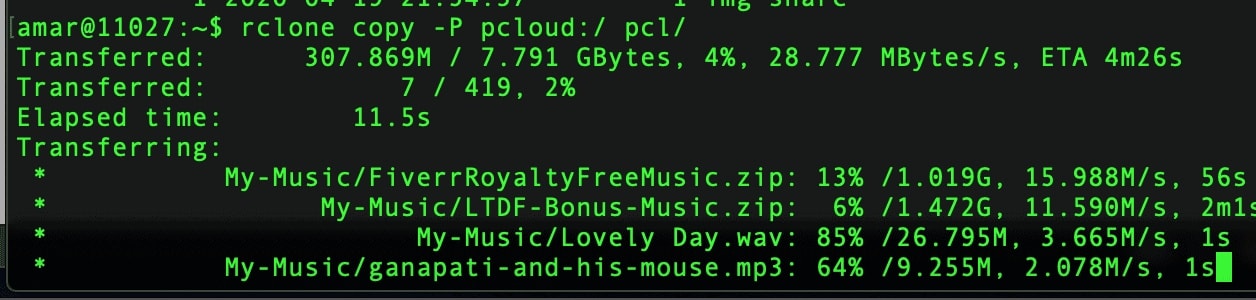 Rclone transferring files from pCloud to VPS.
This experience taught me several valuable lessons:
- Rclone is Powerful: It’s an invaluable tool for large-scale, automated backups. Its flexibility and reliability make it ideal for managing cloud storage.
- GUI Tools Have Limits: While tools like Rethink are user-friendly, they may struggle with large datasets or complex transfers.
- Always Test Backups: Before deleting any data or canceling a service, ensure your backups are complete and intact.
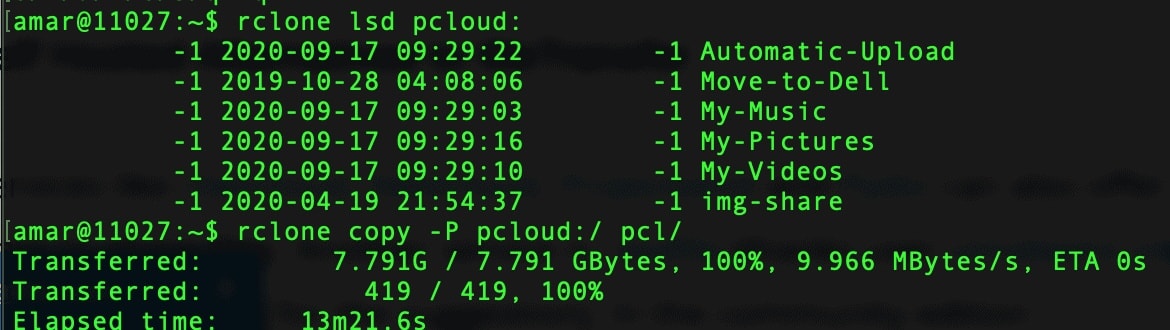 Rclone connecting to pCloud account.
References and Links
Tools and Guides
 Initial steps to close the pCloud account.