
OpenLiteSpeed एक तेज़ और हल्का open-source web server है। अगर आप small VPS पर WordPress host करना चाहते हैं, तो यह performance और caching के लिए अच्छा विकल्प है।
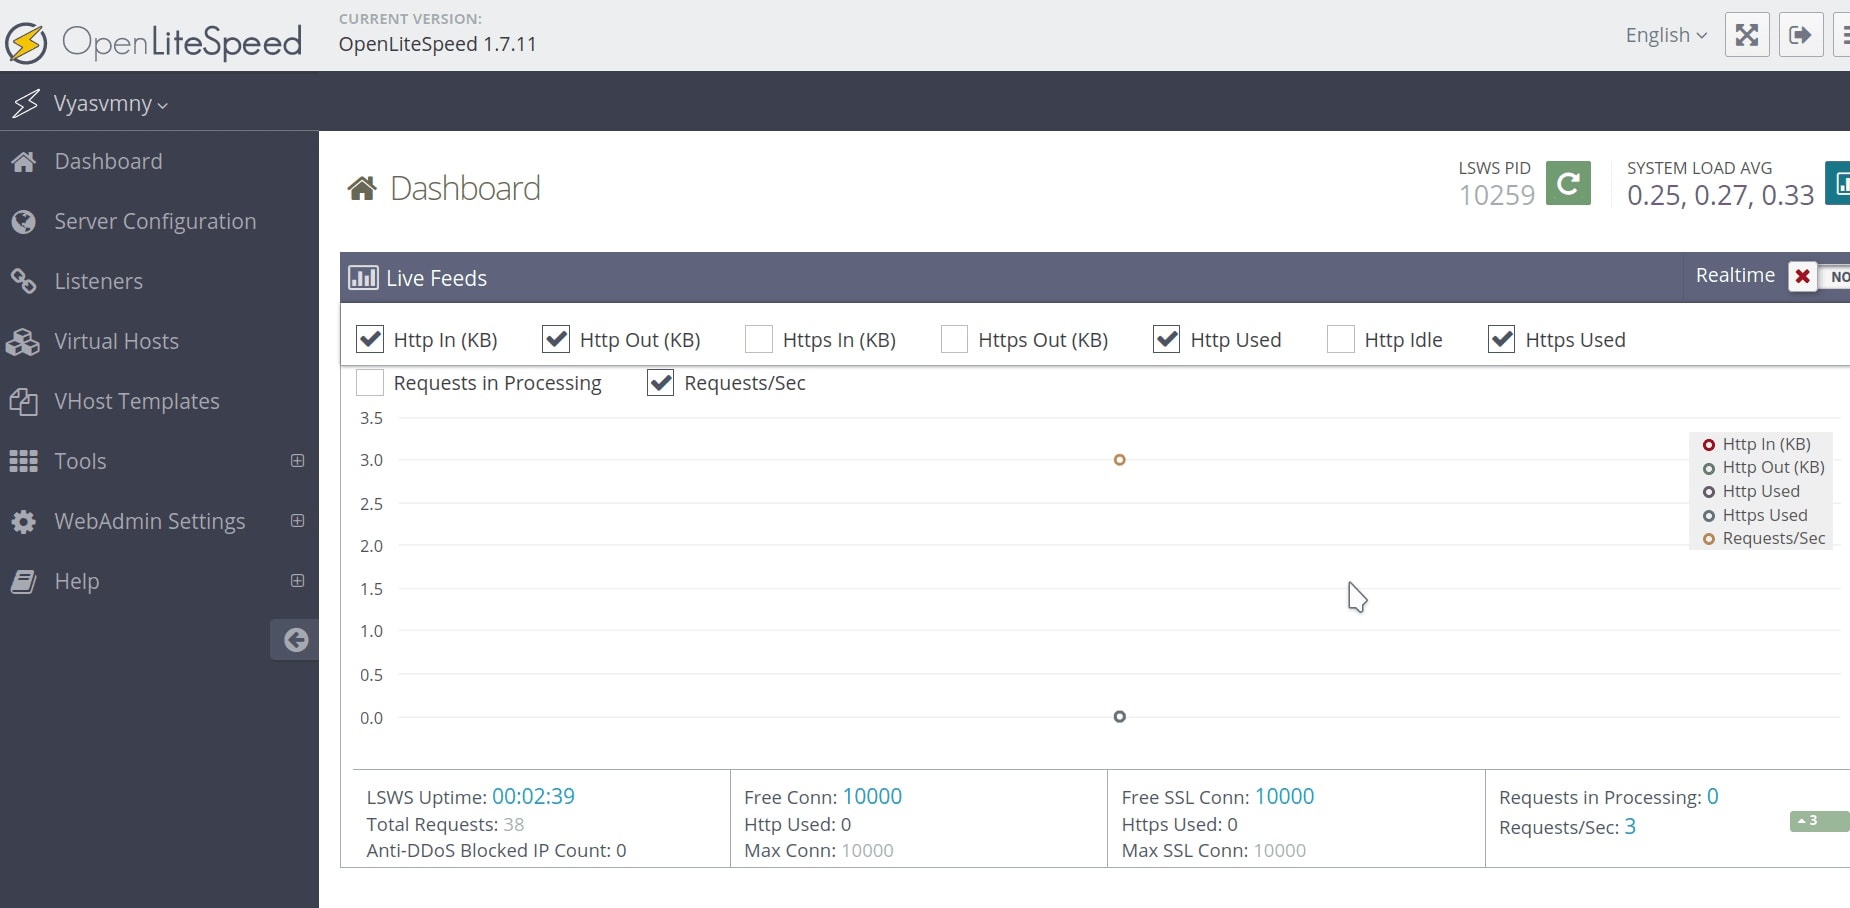
OpenLiteSpeed क्या है?
OpenLiteSpeed, LiteSpeed Web Server का open-source version है। इसमें WebAdmin interface, Apache-style rewrite support, और WordPress के लिए LSCache support मिलता है।
कैसे install करें?
sudo apt update && sudo apt upgrade -y
sudo wget -O - https://repo.litespeed.sh | sudo bash
sudo apt install openlitespeed -y
sudo apt install lsphp84 lsphp84-common lsphp84-mysql lsphp84-curl lsphp84-opcache -y
Admin panel access```text
Password reset:
```bash
sudo /usr/local/lsws/admin/misc/admpass.sh
Cache और SSL
WordPress में LiteSpeed Cache plugin install करें, फिर SSL के लिए Certbot use करें।
sudo certbot certonly --webroot -w /var/www/html -d example.com -d www.example.comImages
External links
- https://docs.openlitespeed.org/
- https://docs.openlitespeed.org/installation/repo/
- https://docs.litespeedtech.com/lscache/lscwp/
- https://openlitespeed.org/
English Version: What is OpenLiteSpeed?
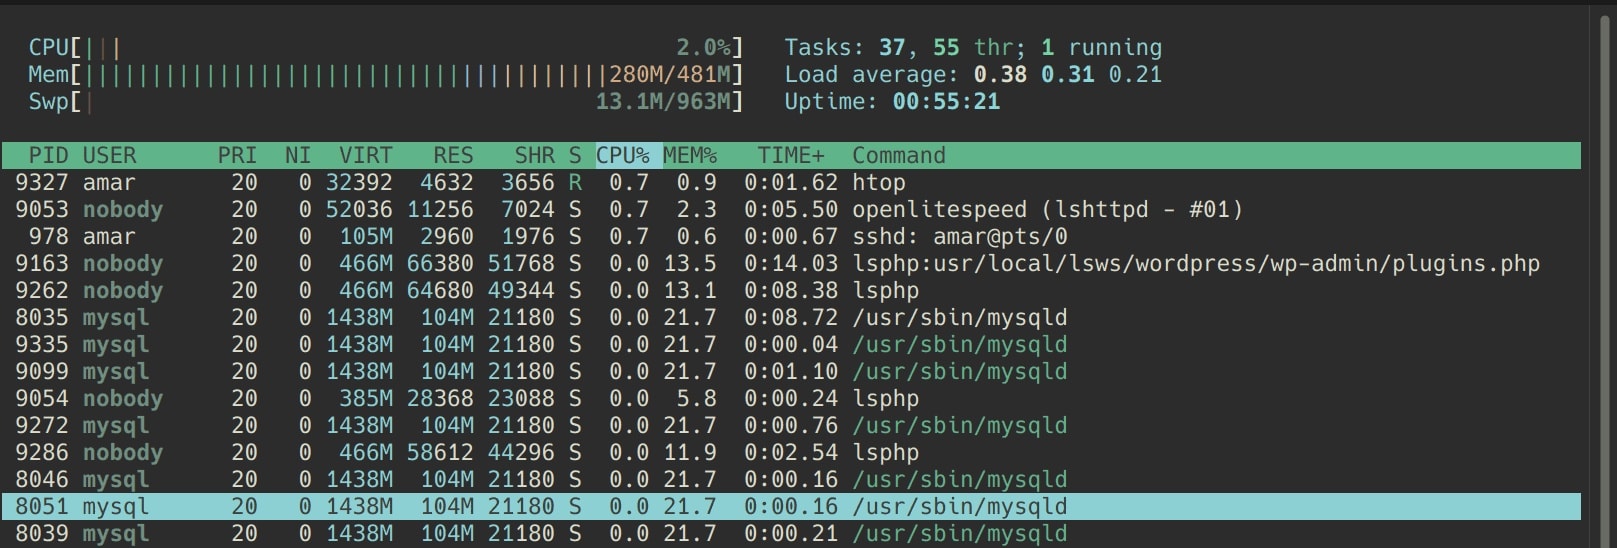
OpenLiteSpeed is a fast, open-source web server built for performance, low overhead, and easy WordPress deployment. If you want a lightweight stack for a small VPS, OpenLiteSpeed is a strong option for speed testing, WordPress hosting, and caching with LSCache.
Why use it for WordPress?
OpenLiteSpeed delivers fast response times with low server overhead, provides an easy WebAdmin GUI for management, offers native support for LiteSpeed Cache, and makes a good fit for small VPS hosting environments where resources are limited but performance matters.
Install OpenLiteSpeed on Ubuntu
-
SSH into your VPS.
-
Update packages:
sudo apt update && sudo apt upgrade -y -
Add the LiteSpeed repository:
sudo wget -O - https://repo.litespeed.sh | sudo bash -
Install OpenLiteSpeed:
sudo apt install openlitespeed -y -
Install PHP 8.4 packages:
sudo apt install lsphp84 lsphp84-common lsphp84-mysql lsphp84-curl lsphp84-opcache -y
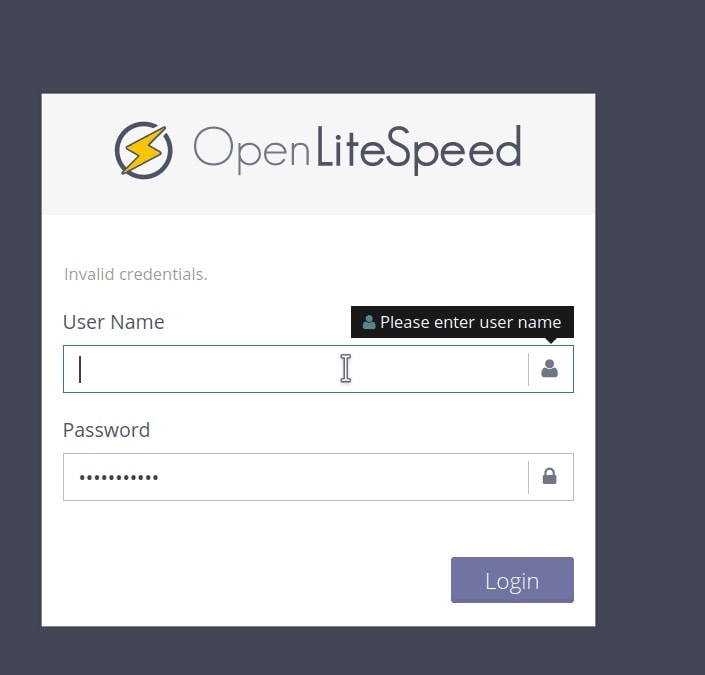
Access the admin panel
Open the WebAdmin console:
https://your-server-ip:7080If needed, reset the admin password:
sudo /usr/local/lsws/admin/misc/admpass.sh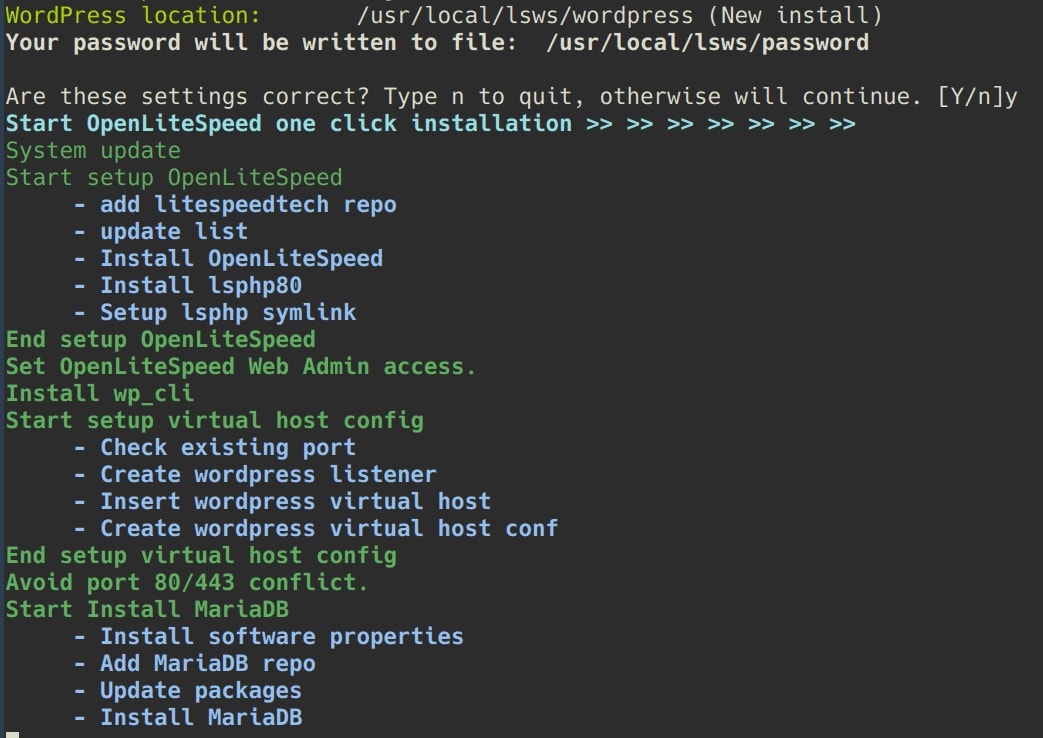
Configure WordPress
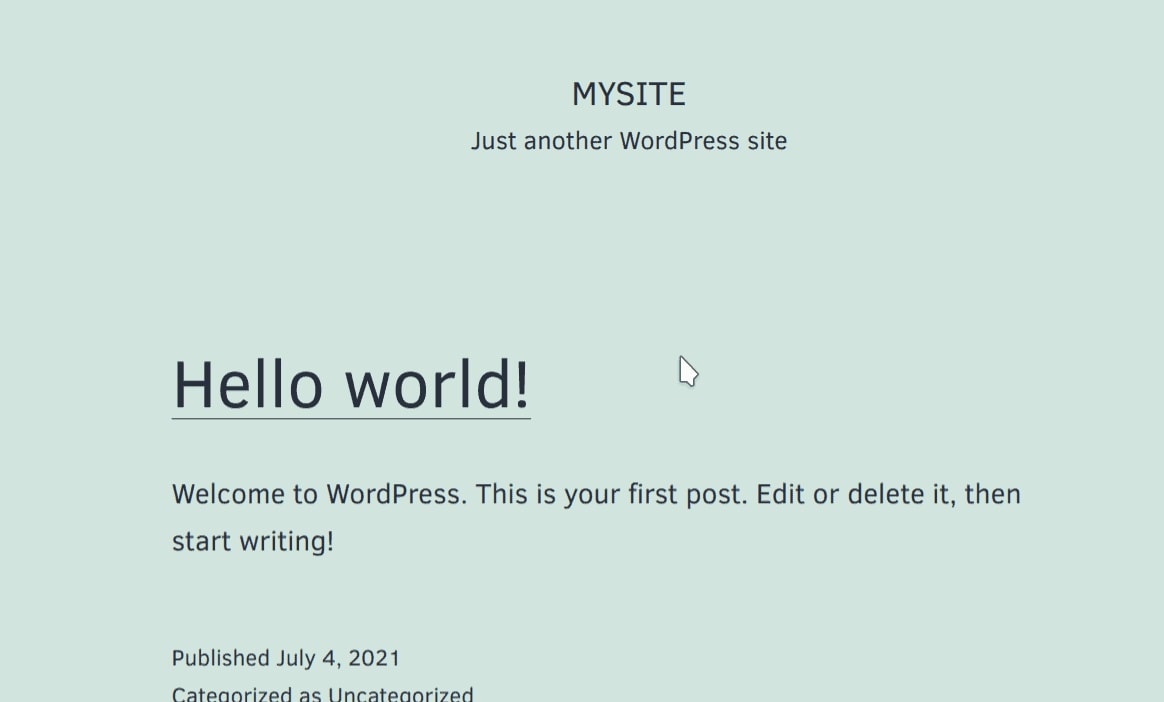
Create a virtual host, point it to your WordPress directory, and set up PHP handling. For a fresh install, the easiest path is to install WordPress inside the OLS virtual host document root.
Enable cache and performance tuning
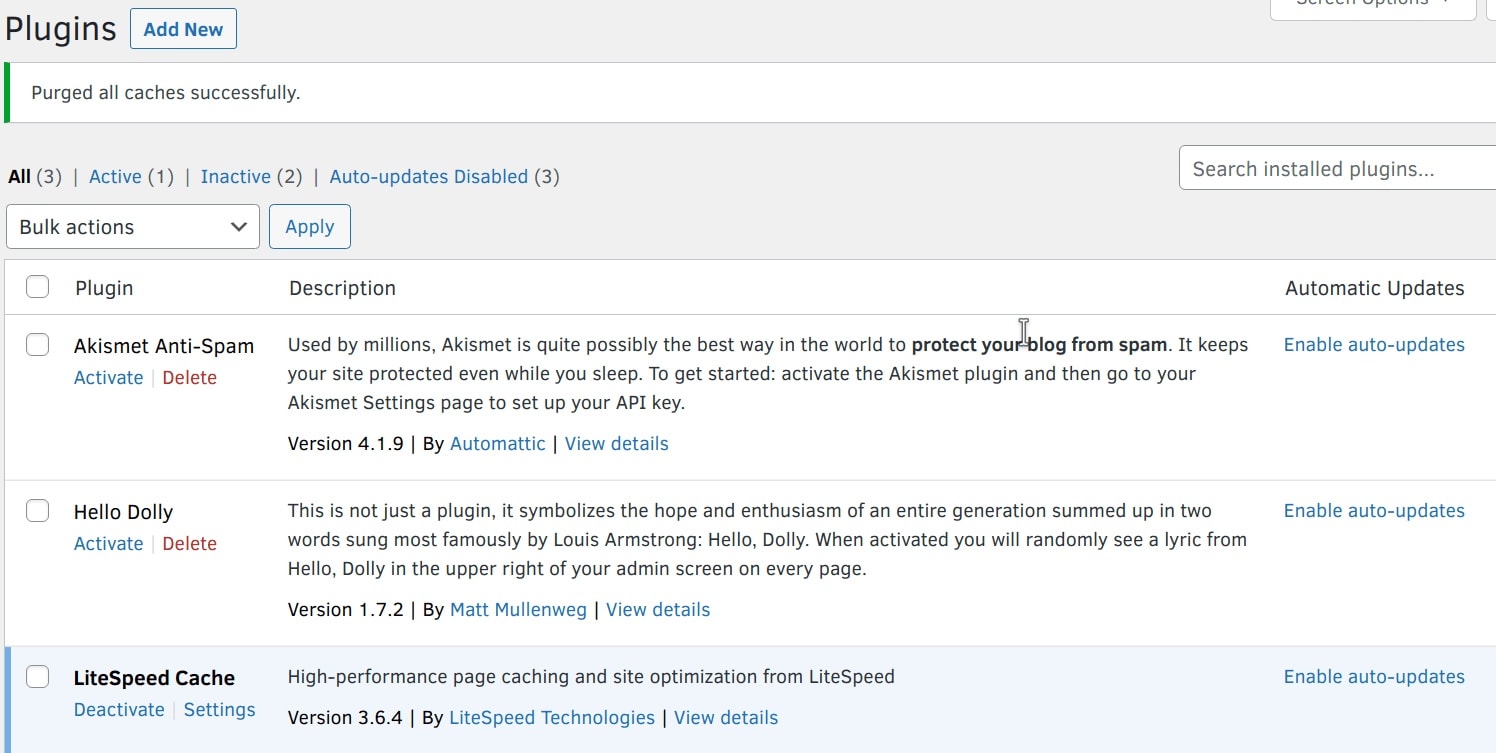
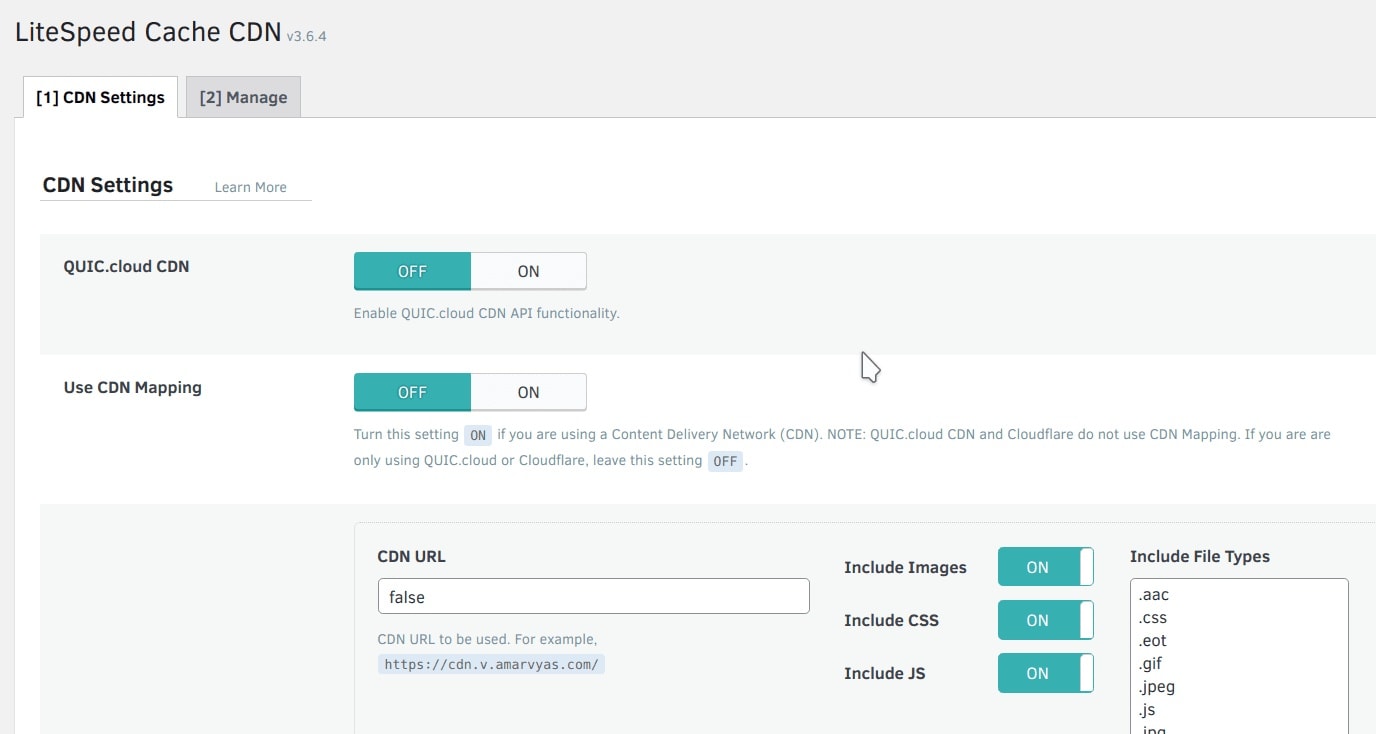
Install the LiteSpeed Cache plugin in WordPress and enable optimization settings. The key areas to tune include page cache for storing full-page output, CSS and JavaScript minification to reduce file sizes, image optimization for faster loading visuals, browser cache leverage for returning visitors, object cache for database query results, and QUIC.cloud CDN integration for global content delivery and additional optimization features. Install the LiteSpeed Cache plugin in WordPress and enable optimization settings.
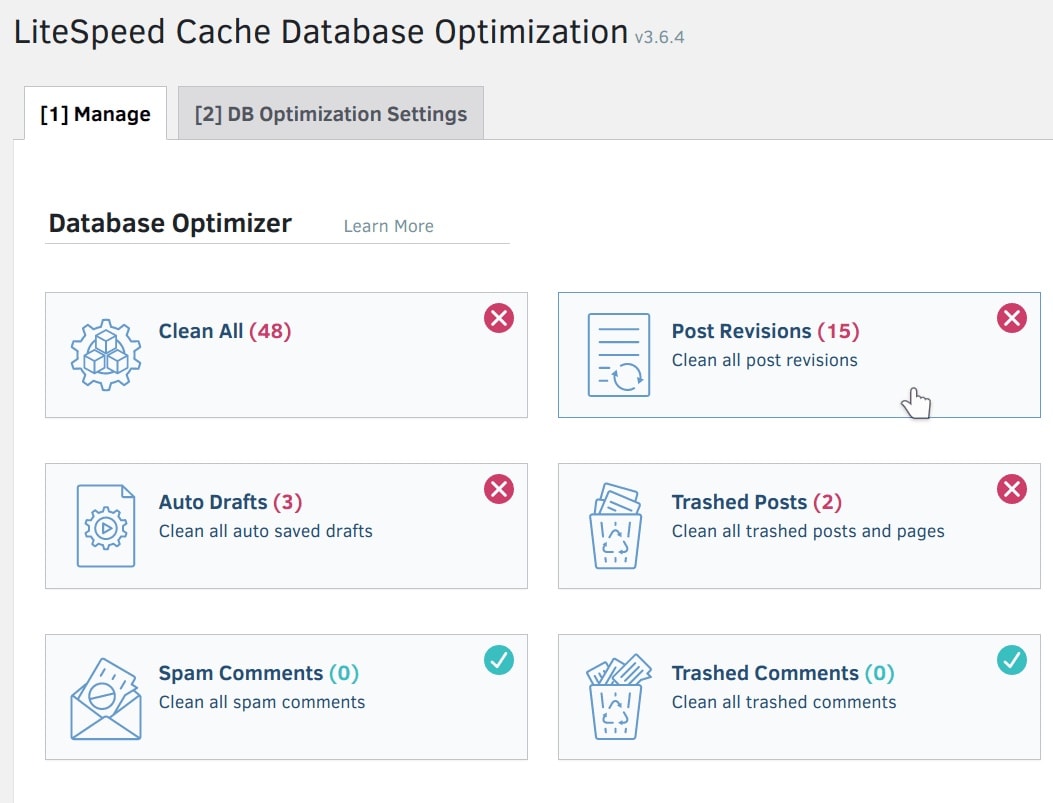
Image Optimization with EWWW Image Optimizer
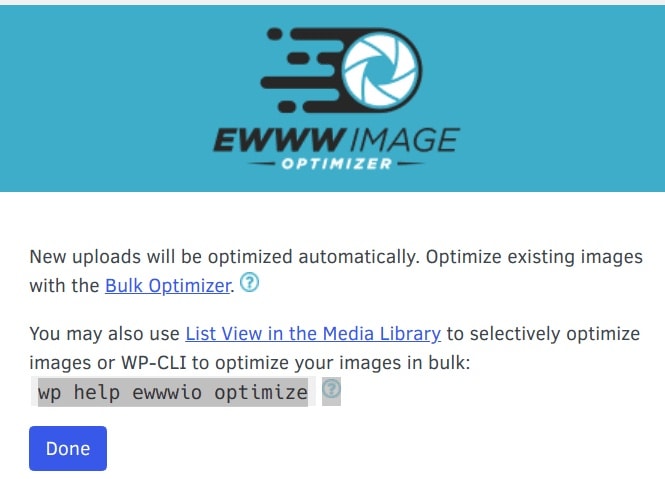
EWWW Image Optimizer is a popular WordPress plugin that automatically compresses and optimizes images uploaded to your site. It reduces file sizes without visible quality loss, improving page load speeds and Core Web Vitals.
Important: EWWW Image Optimizer does not come bundled with OpenLiteSpeed or LiteSpeed Cache. It is a separate third-party plugin that you must install from the WordPress plugin repository. However, it works excellently alongside LiteSpeed Cache — LSCache handles page caching and CSS/JS optimization, while EWWW handles image compression. You can use both together for maximum performance.
QUIC.cloud CDN Integration
QUIC.cloud is a Content Delivery Network (CDN) service developed by LiteSpeed Technologies. It provides:
- Global edge caching for dynamic and static content
- HTTP/3 and QUIC protocol support for faster connections
- Automatic image optimization and WebP conversion
- DDoS protection and security features
- Integration with LiteSpeed Cache plugin for seamless cache purging
Important: QUIC.cloud is not bundled with OpenLiteSpeed by default. It is a separate cloud service (free tier available) that integrates natively with the LiteSpeed Cache plugin for WordPress. To use it, you need to:
- Install the LiteSpeed Cache plugin
- Register a free QUIC.cloud account
- Link your domain in the LSCache plugin settings
- Enable CDN and optimization features
Add SSL
Use Certbot for HTTPS and then update the listener and virtual host settings in WebAdmin.
Example:
sudo apt install certbot -y
sudo certbot certonly --webroot -w /var/www/html -d example.com -d www.example.com
Check if cache is working
In your browser dev tools, look for headers like:
X-LiteSpeed-Cache: hit
X-LiteSpeed-Cache: miss
Takeaways
OpenLiteSpeed is a strong option for WordPress on a small VPS when you want speed, simplicity, low memory usage, and easy cache integration all in one lightweight package.
External links
- OpenLiteSpeed Documentation
- OpenLiteSpeed Repository Install Guide
- LSCache for WordPress Documentation
- OpenLiteSpeed Official Site
- EWWW Image Optimizer Plugin
- QUIC.cloud CDN