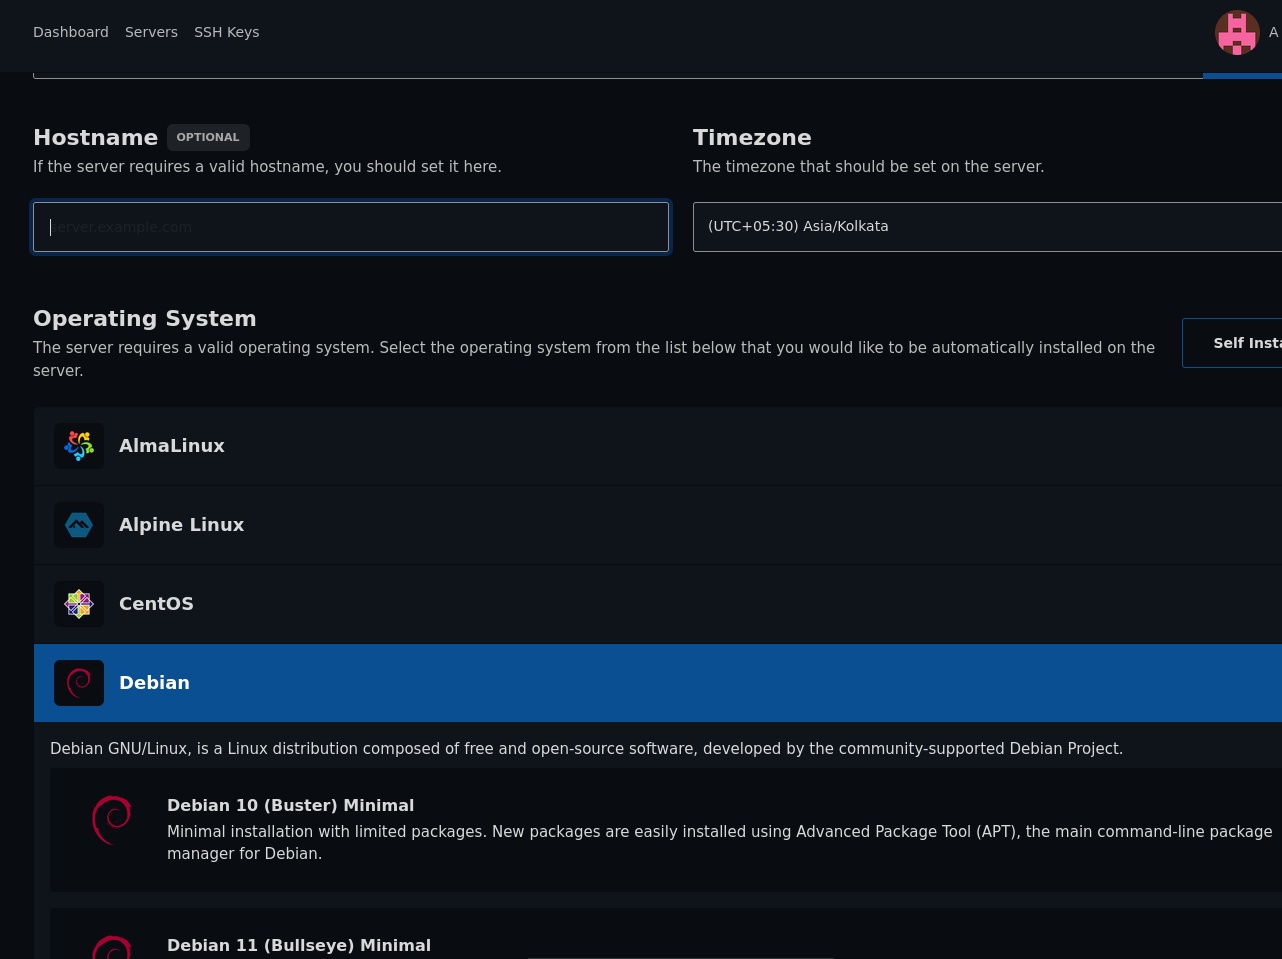
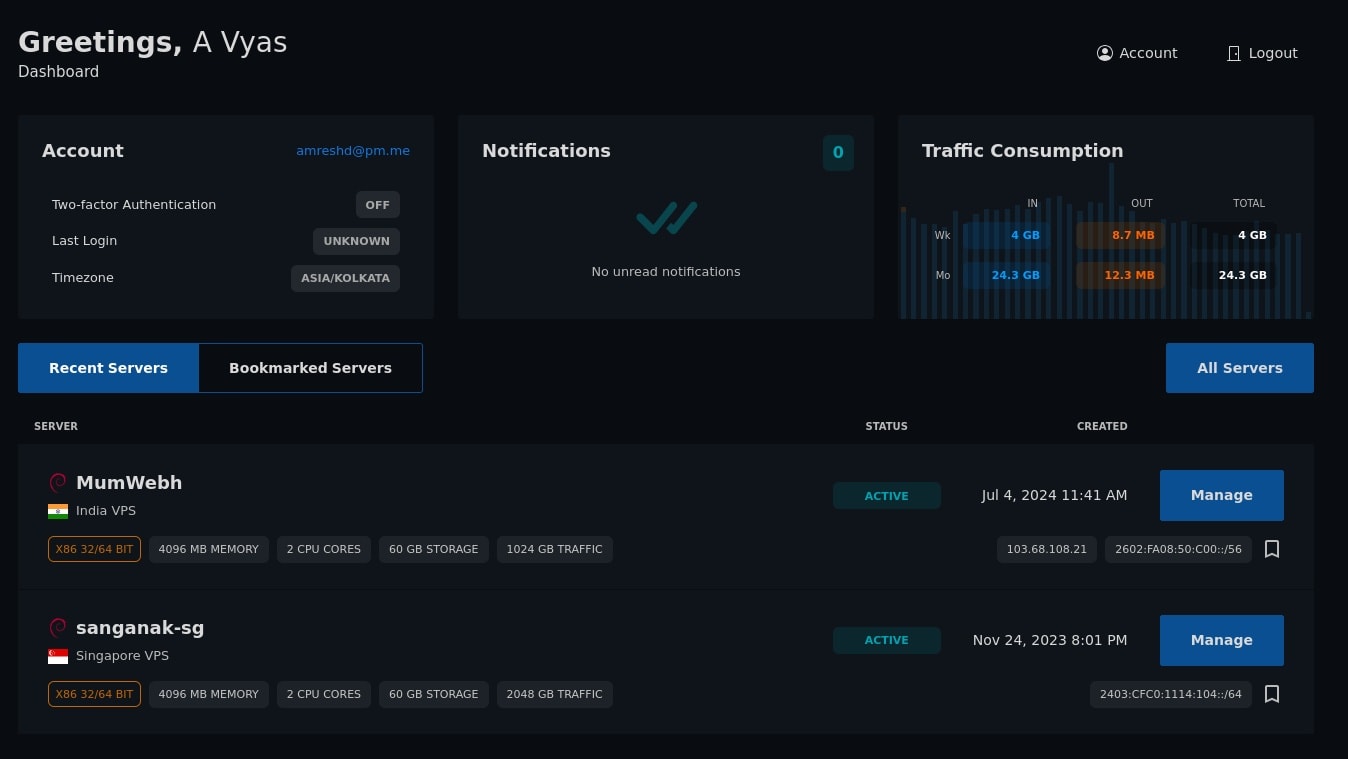
In this post, you will find an introduction and overview of the VirtFusion server control panel. This is a hybrid post of sorts — it covers the "what" and the "how" together. We will look at installation requirements, configuration options, and firsthand impressions from testing this panel on a live VPS. This post is written from the perspective of an end user who subscribes to a VPS, rather than a hosting provider managing multiple servers.
You can download a PDF version of an older version of this blogpost here
Background: Server Control Panels
A server control or management panel is a front-end interface that allows you to set up and administer your server without relying solely on the command line. Using these panels, you can configure IP addresses, accounts, email, security settings, content management systems, server updates, backups, and so on.
The more user-friendly the interface, the fewer support tickets a hosting provider has to deal with. I have written about several panels on this blog, including TinyCP, Server Avatar, and VPS Noobs. VirtFusion is a commercial-grade contender that offers a robust alternative.
Introduction: VirtFusion Overview

VirtFusion is a comprehensive server control panel designed to simplify administration. It can be deployed in two ways: as a Control Server (for managing a single VPS) or as a Hypervisor (for hosting providers). Since its introduction, it has evolved to include advanced monitoring, dynamic resource allocation, and multi-user management.
Installation Options
Minimum hardware requirements are 2048 MB RAM and 10 GB disk space.
| Mode | Use Case |
|---|---|
| Control Server | Managing a single VPS/Dedicated server. |
| Hypervisor (KVM) | Provisioning multiple VMs on a dedicated host. |
Installing VirtFusion on Debian
For a clean installation, use a fresh Debian 11/12 instance.
Installation command:
curl [https://install.virtfusion.net/install-control-debian-11.sh](https://install.virtfusion.net/install-control-debian-11.sh) | sh -s -- --verbose
After installation, the terminal will display your login URL and temporary credentials. Ensure you configure SSL via ZeroSSL for secure access.
VirtFusion provides the vfcli-ctrl utility for advanced administrators.
- Maintenance Mode:
vfcli-ctrl down - IP Restriction:
vfcli-ctrl admin:ip-restrict addip <your_ip>
From an end-user perspective, VirtFusion is fast, clean, and has a short learning curve. While it is a commercial product requiring a license after the 30-day trial, the speed and intuitive navigation make it a strong competitor to legacy panels like SolusVM.
Security Features
In my experience with the panel’s latest iterations, I have observed that VirtFusion has significantly fortified its security posture to better protect my server environments against modern threats. The platform now integrates advanced threat detection systems, including AI-driven anomaly detection, to proactively identify and mitigate potential vulnerabilities before I encounter them. Furthermore, it provides robust support for two-factor authentication (2FA) and streamlined firewall management, ensuring that both my control server and hosted virtual machines remain shielded against unauthorized access. These enhancements, combined with regular, automated updates and secure session management, solidify my confidence in using VirtFusion for tasks requiring rigorous data integrity and server hardening.
Background: My Journey to the VirtFusion Server Control Panel
I first came across the VirtFusion Server Control Panel through an engaging post on the LowEndSpirit Forums. Phil, the developer and creator of this panel, is a seasoned hand in this space. He is actually the original founder of SolusVM, one of the more established names in the VPS control panel world. A number of VPS providers whose benchmarks I have covered on this blog actively use this software. GreenCloudVPS, Inception Hosting, and PHP-Friends are just a few examples of providers leveraging this excellent tool.
Phil's post on the forum generated considerable discussion about the pros, limitations, and potential of this new software. MikeA from ExtraVM generously offered trial VPS instances running this panel, and I quickly signed up to take a closer look. At the time of my initial testing in early March 2022, version 2.1.x was the most current release available. Just two weeks prior, I had tested version 1.1.5, meaning roughly three versions had shipped in under a month. Many changes were incremental fixes, but the pace of development was clearly rapid and highly encouraging.
What is the VirtFusion Server Control Panel?
VirtFusion is a comprehensive, commercial server control panel designed to simplify server administration through a clean and modern graphical interface. At its core, it can be deployed in two distinct ways to suit different administrative needs. You can use it as a Control Server for managing a single VPS, or as a KVM hypervisor management tool for multiple virtual machines. It was meticulously built with both the system administrator and the end user in mind. That inclusive design philosophy is immediately evident the very moment you securely log in to the dashboard.
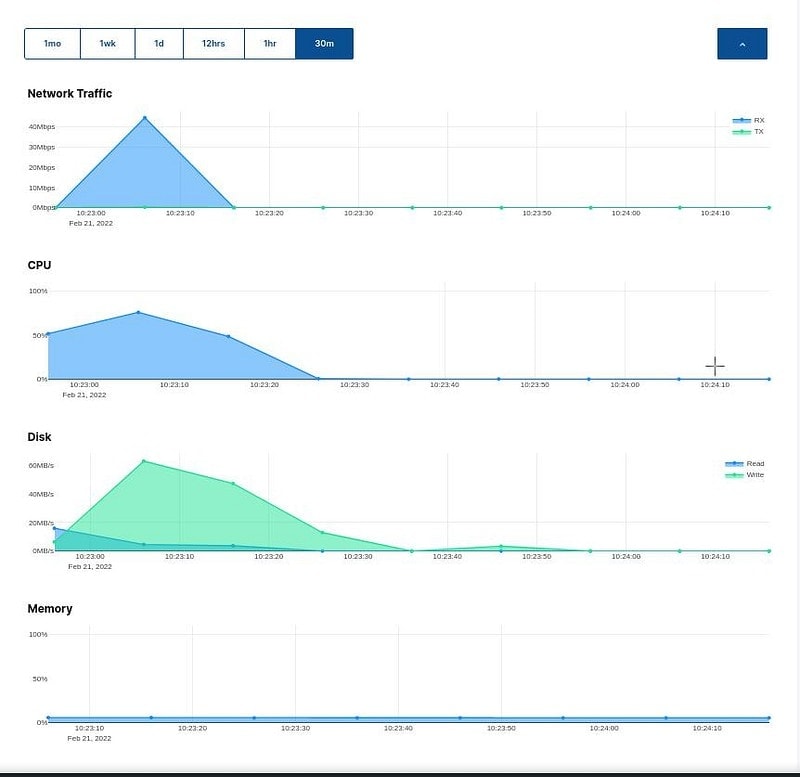
Since its initial release, the software has expanded its robust feature set considerably to aid administrators. It now includes advanced server monitoring, dynamic resource allocation, multi-user account management, DNS configuration, VNC browser access, and robust firewall management. It also features beautiful support for modern PHP versions, including the latest PHP 8.3 and 8.4 environments. Security features include enhanced threat detection, two-factor authentication support, and AI-assisted anomaly detection in more recent builds. The panel's development cadence remains highly active, with regular releases continuously tracked on its official changelog.
Minimum Requirements for Debian Panel Installation
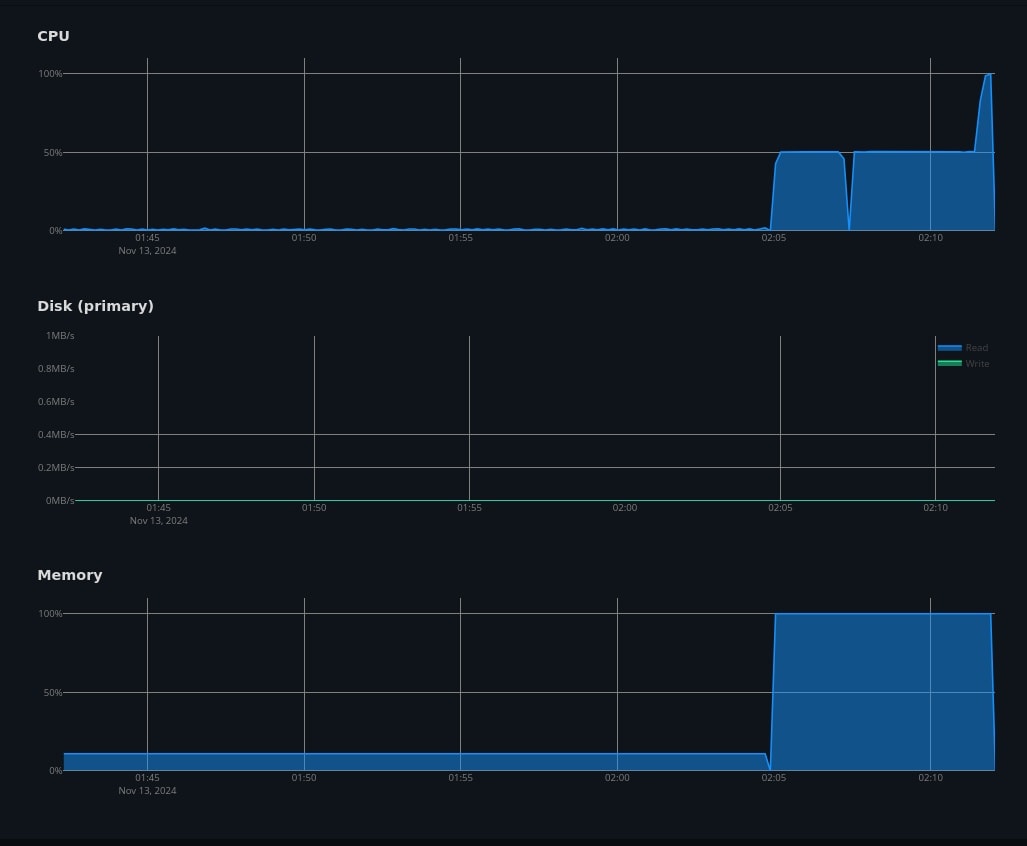
Before proceeding with a Debian panel installation, you must ensure your server meets the minimum hardware requirements. You will need at least 2048 MB (2 GB) of RAM and 10 GB of available disk space. For operating systems, it officially supports Debian 11/12, Rocky Linux, and AlmaLinux for the Control Server mode. A static IP address is strictly required, and setting up a reverse DNS record is highly recommended for optimal performance.
In a nutshell, you can use VirtFusion as a Control Server or as a Hypervisor (KVM). The minimum hardware requirements for installation, as per the official documentation, are: 2048 MB RAM and 10 GB disk space.
A clean operating system install is strongly recommended before deploying the software to your server. From my years of testing various panels, one vital lesson holds true consistently across all platforms. A clean OS install combined with a fresh panel installation results in significantly fewer errors and frustrating configuration conflicts. Therefore, please do not attempt to install this over an existing cPanel, HestiaCP, or any other panel installation.
Modes of Operation: Control Server vs KVM Hypervisor Management
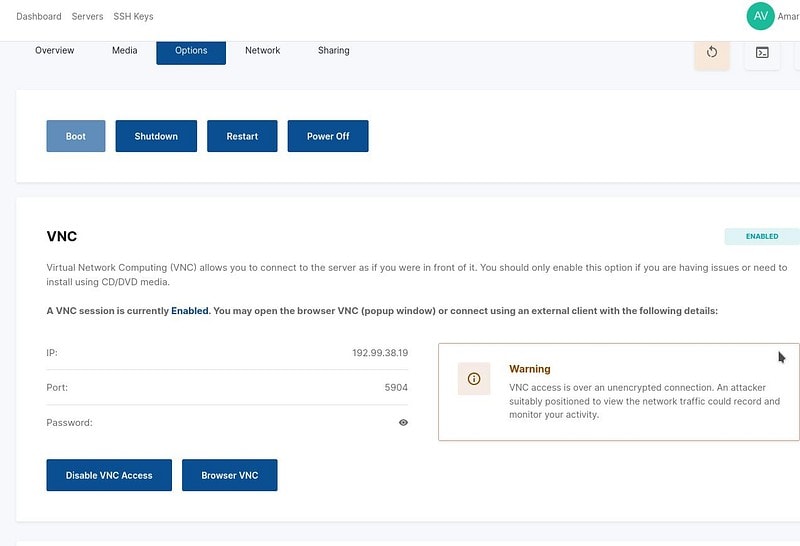
The software proudly supports two distinct installation modes to perfectly accommodate different types of users. Understanding which mode beautifully applies to your specific use case is an important first step before you begin. The Control Server mode is ideal for managing a single VPS or dedicated server with a convenient graphical interface. This mode is beautifully tailored for individual developers, small website owners, and everyday VPS subscribers.
Alternatively, the KVM hypervisor management mode serves a completely different, more enterprise-focused purpose. It is expertly designed for provisioning and managing multiple virtual machines on a single dedicated host machine. This advanced mode is specifically intended for hosting providers, data centre operators, and power users with dedicated hardware. I did not test this mode during my evaluation, as it safely falls outside the typical end-user scenario. Additional configuration steps are required for networking, which the official documentation covers in extensive detail.
Executing the Debian Panel Installation
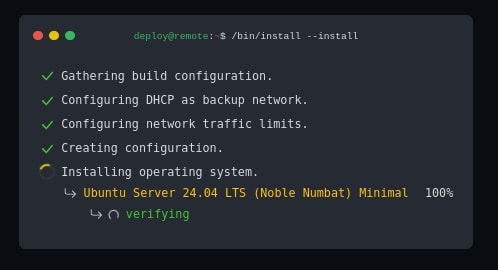
For this practical walkthrough, I happily used a fresh Debian 11 VPS, which is my preferred distribution for such tasks. The entire installation process is remarkably streamlined and magically initiated via a single curl command. The automated installer intelligently sets up all required components without demanding constant user intervention. This includes a web server, Redis for caching, a database server, and the main control application itself.
After the core installation completes, setting up an SSL certificate requires one essential additional step. The official documentation highly recommends using ZeroSSL to securely generate your required security certificate. This crucial step should never be skipped, particularly if your panel will be accessible over the public internet. Once finished, the terminal delightfully displays the login URL along with your new administrator username and password. Follow the provided link, enter your credentials, and you will be prompted to activate your licence to begin.
Exploring the Command Line Interface (vfcli-ctrl)
Like most professional server management solutions, this software wonderfully includes a powerful command-line utility for administrators. This tool is perfect for those who naturally prefer terminal-based workflows over graphical interfaces. The naming pattern remains wonderfully consistent with the broader ecosystem of server administration tools. For example, GridPane uses gpcli, WordOps uses wo, and this particular software elegantly utilizes vfcli-ctrl. To quickly invoke the interface, you simply run vfcli-ctrl vf directly from your server's terminal prompt.
The command line interface allows you to efficiently execute a delightful variety of essential administrative tasks. You can easily put the panel into maintenance mode by running the simple vfcli-ctrl down command. Adding an IP address to the administrator allowlist is done via the vfcli-ctrl admin:ip-restrict addip function. You can then intelligently enable this strict IP restriction by running vfcli-ctrl admin:ip-restrict enable for added security. The full, comprehensive list of available CLI commands is thoroughly documented on the official documentation site.
Everyday Usage: DNS and VNC Access
Configuring essential DNS settings within the panel is a refreshingly straightforward and immensely pleasant experience. The software conveniently lets you choose from a curated list of available DNS providers via a simple dropdown menu. Alternatively, you can comfortably retain the system defaults if that better suits your personal preferences. Reverse DNS configuration is equally simple and is handled entirely through the beautiful graphical interface. For most users, getting everything properly configured will reliably take no more than a couple of quick minutes.
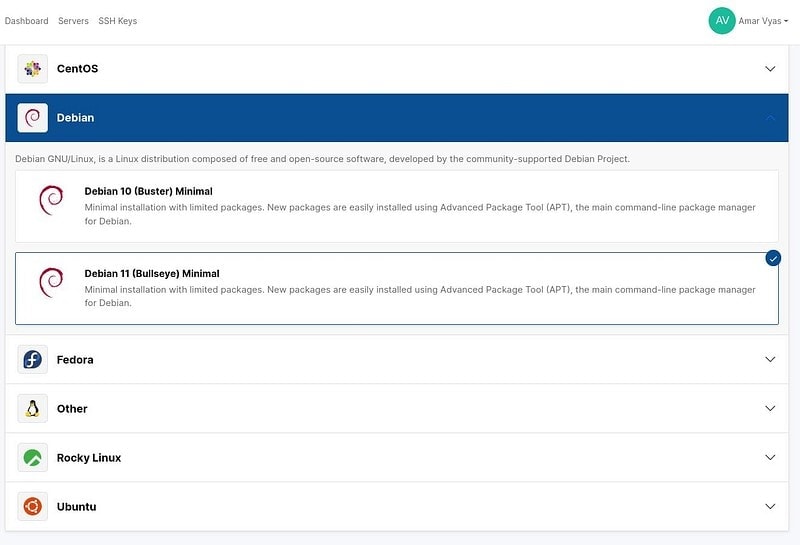
One of the more practical and impressive features is its built-in browser-based VNC access. This seamlessly allows you to cleanly access the console of a virtual machine directly from the web dashboard. You thankfully do not need to install or configure any separate, cumbersome VNC client application. For situations where SSH access is sadly unavailable, the VNC console becomes an absolute lifesaver for recovery. The interface remains beautifully clean and highly responsive, perfectly consistent with the overall premium panel experience.
Final Impressions
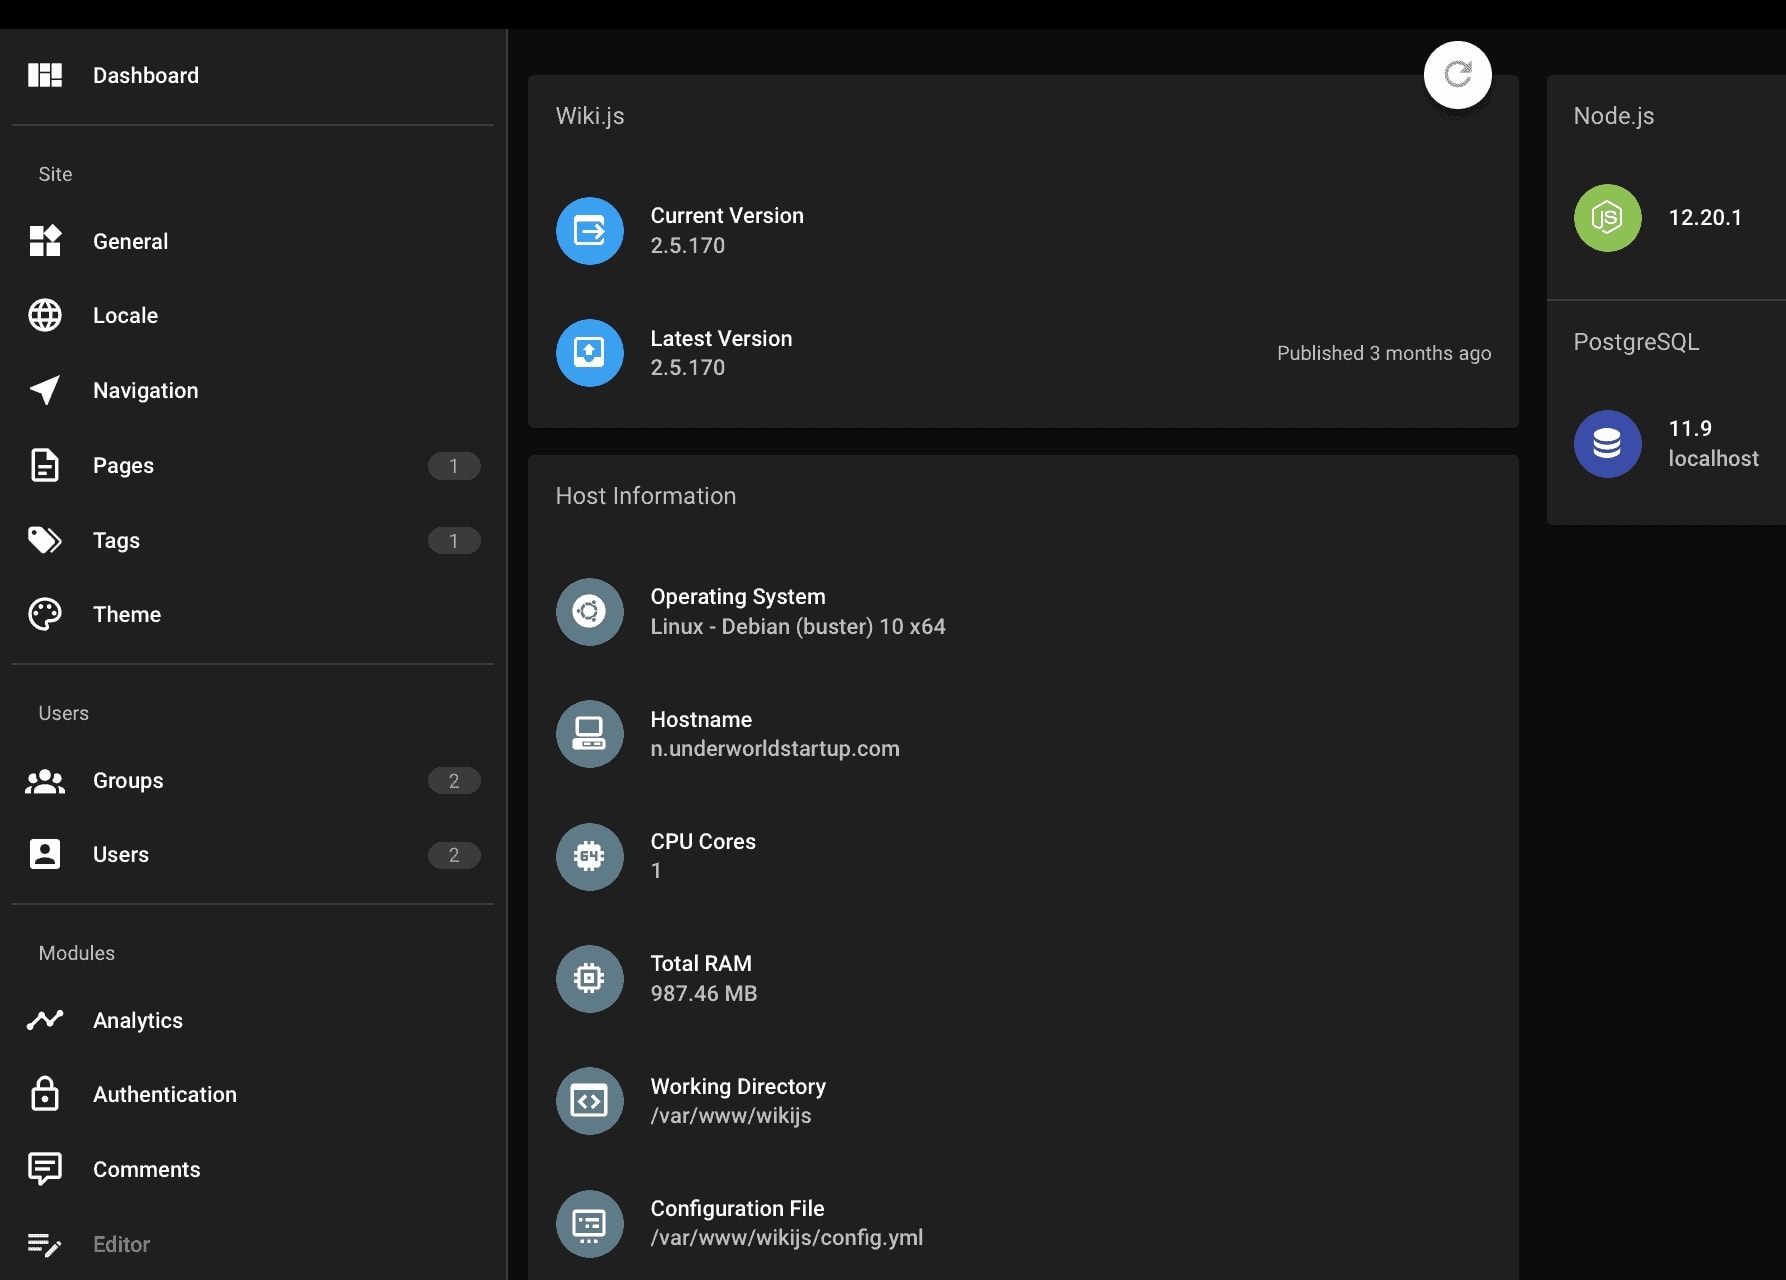
I enthusiastically wrote to Phil after thoroughly testing the panel to share my firsthand experiences. The interface is incredibly clean and extremely fast to load, contrasting sharply with some competitor panels. The learning curve is surprisingly short, as the intuitive menu structure makes basic tasks completely self-explanatory. The entire process, from initial server provisioning to a fully working panel, impressively took me under ten minutes. From a first-time user's perspective, this software brilliantly strikes the perfect balance between power and usability.