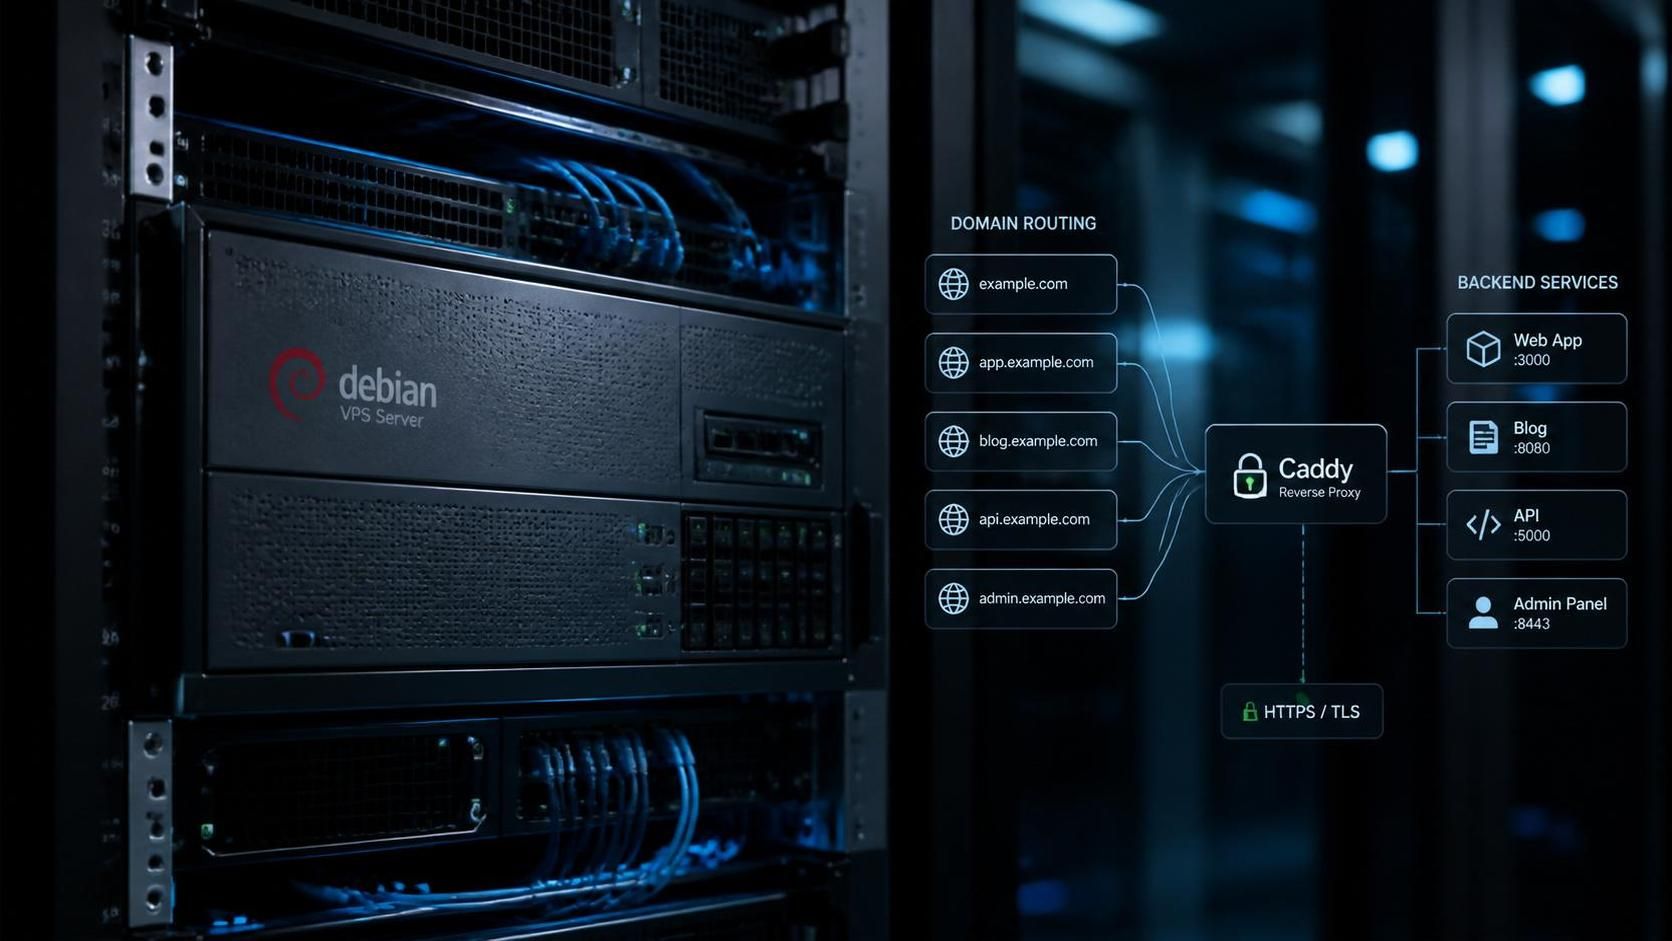
I’ve grown to prefer Caddy Server for its simplicity and automatic HTTPS—features that make it ideal for small projects. If time permits, I plan to use this guide to set up a live ClassicPress site on a modest VPS, further refining the process with a work-in-progress caddyscript to automate the steps below.
I first wrote these notes in 2019–2020 to document my process for installing ClassicPress on a VPS. Since then, I’ve updated the guide to reflect changes like Debian 13 (Trixie) and PHP 8.4, ensuring it stays relevant for modern setups.
Summary
इस ब्लॉग पोस्ट में, हम Debian या पर ClassicPress v2 को Caddy Server के साथ इंस्टॉल और कॉन्फ़िगर करने का तरीका बताएंगे। इस सेटअप में PHP 8.4 और स्वचालित HTTPS (Let’s Encrypt के जरिए) का उपयोग किया गया है, जो वेबसाइट को सुरक्षित और तेज़ बनाता है। पोस्ट में Caddy Server के फायदे और सीमाएं, साथ ही ClassicPress की स्थापना के लिए तरीके शामिल हैं। इसके अलावा, ट्रबलशूटिंग टिप्स और FAQ भी दिए गए हैं, ताकि आप आसानी से अपनी वेबसाइट सेटअप कर सकें।
Introduction
ClassicPress is a lightweight, open-source content management system (CMS) designed as a fork of WordPress, focusing on stability, security, and a traditional editing experience. Unlike WordPress, which has shifted toward block-based editing (Gutenberg), ClassicPress retains the classic TinyMCE editor, making it a preferred choice for users who prioritize simplicity and familiarity.
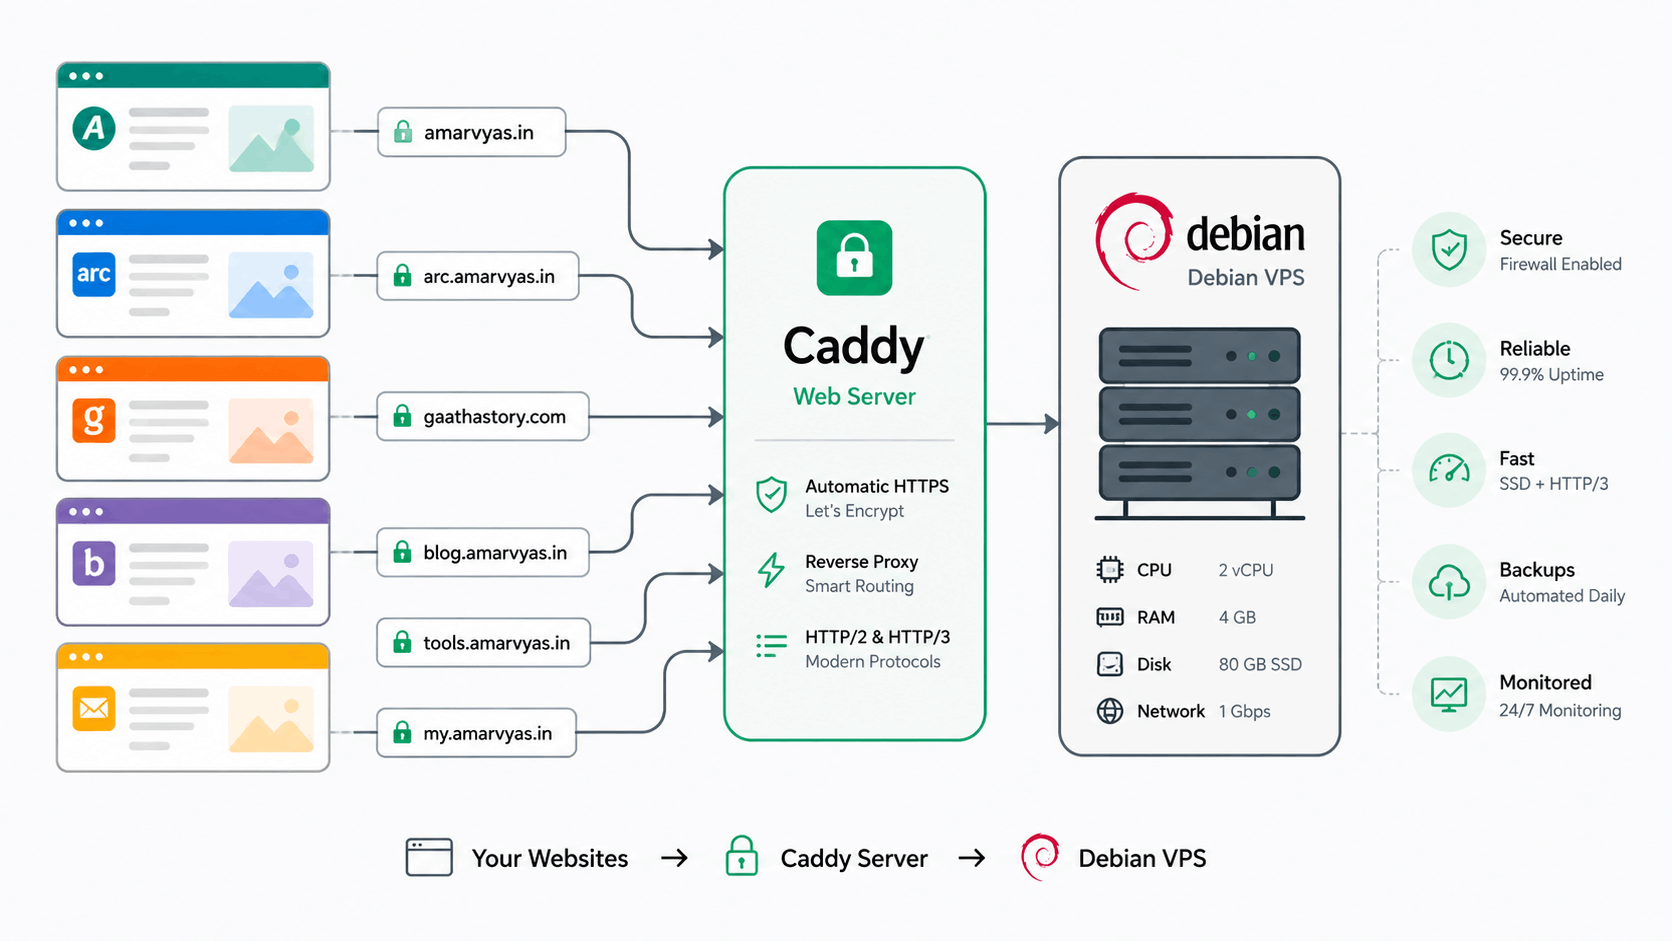
Deploying ClassicPress on a VPS (Virtual Private Server) with Caddy Server offers a modern, performant, and secure way to host your website. Caddy is a fast, easy-to-use web server that automatically provisions HTTPS via Let’s Encrypt, simplifying the setup process while ensuring robust security. This guide walks you through installing ClassicPress v2.x on a Debian or Ubuntu VPS using Caddy Server, with optimizations for PHP 8.3/8.4 and automatic HTTPS. Whether you're migrating from WordPress or starting fresh, this setup ensures a stable, high-performance environment.
Objective
This guide covers two ways to install ClassicPress on a Debian or Ubuntu VPS using Caddy Server:
- Recommended Method uses PHP 8.3/8.4, the SURY repository (for Debian 13 compatibility), and modern Caddy Server setup with automatic HTTPS.
- Classic Method reflects the original 2019–2020 process, where PHP 7.4 was standard, and Caddy was installed via manual binary downloads. The steps are nearly identical, but the commands for PHP installation and Caddy setup differ slightly (e.g.,
apt install php7.4instead of PHP 8.x, and manual Caddy binary placement).
The Recommended Method is the focus of this post, but I’ve included the Classic Method for reference, as some users may still prefer the older approach for legacy environments.
In general, the steps include:
- Update Debian and install required software
- Step-by-step installation of ClassicPress on a VPS
- Caddy Server configuration, including automatic HTTPS
- PHP 8.3/8.4 optimization for performance and compatibility
- MariaDB setup and security best practices
- Pros and cons of Caddy Server (see Part 3)
- Troubleshooting tips for common issues
Hardware Requirements
Minimum Requirements
- Processor: 1 vCPU/core
- RAM: 1 GB
- Disk Space: 20 GB (SSD recommended)
- OS: Debian 13 (Trixie) or Ubuntu 26.04
- Bandwidth: 1–2 TB/month (depends on traffic)
Recommended Requirements
- Processor: 2+ vCPU/cores
- RAM: 2 GB+
- Disk Space: 40 GB+ (SSD for performance)
- OS: Debian 13 (Trixie) or Ubuntu 26.04
- Bandwidth: 5+ TB/month (for moderate traffic)
What’s Not Included in This Post:
This post does not cover advanced Caddy configurations, ClassicPress theme/plugin development, WordPress migration, or server hardening beyond basic security steps.
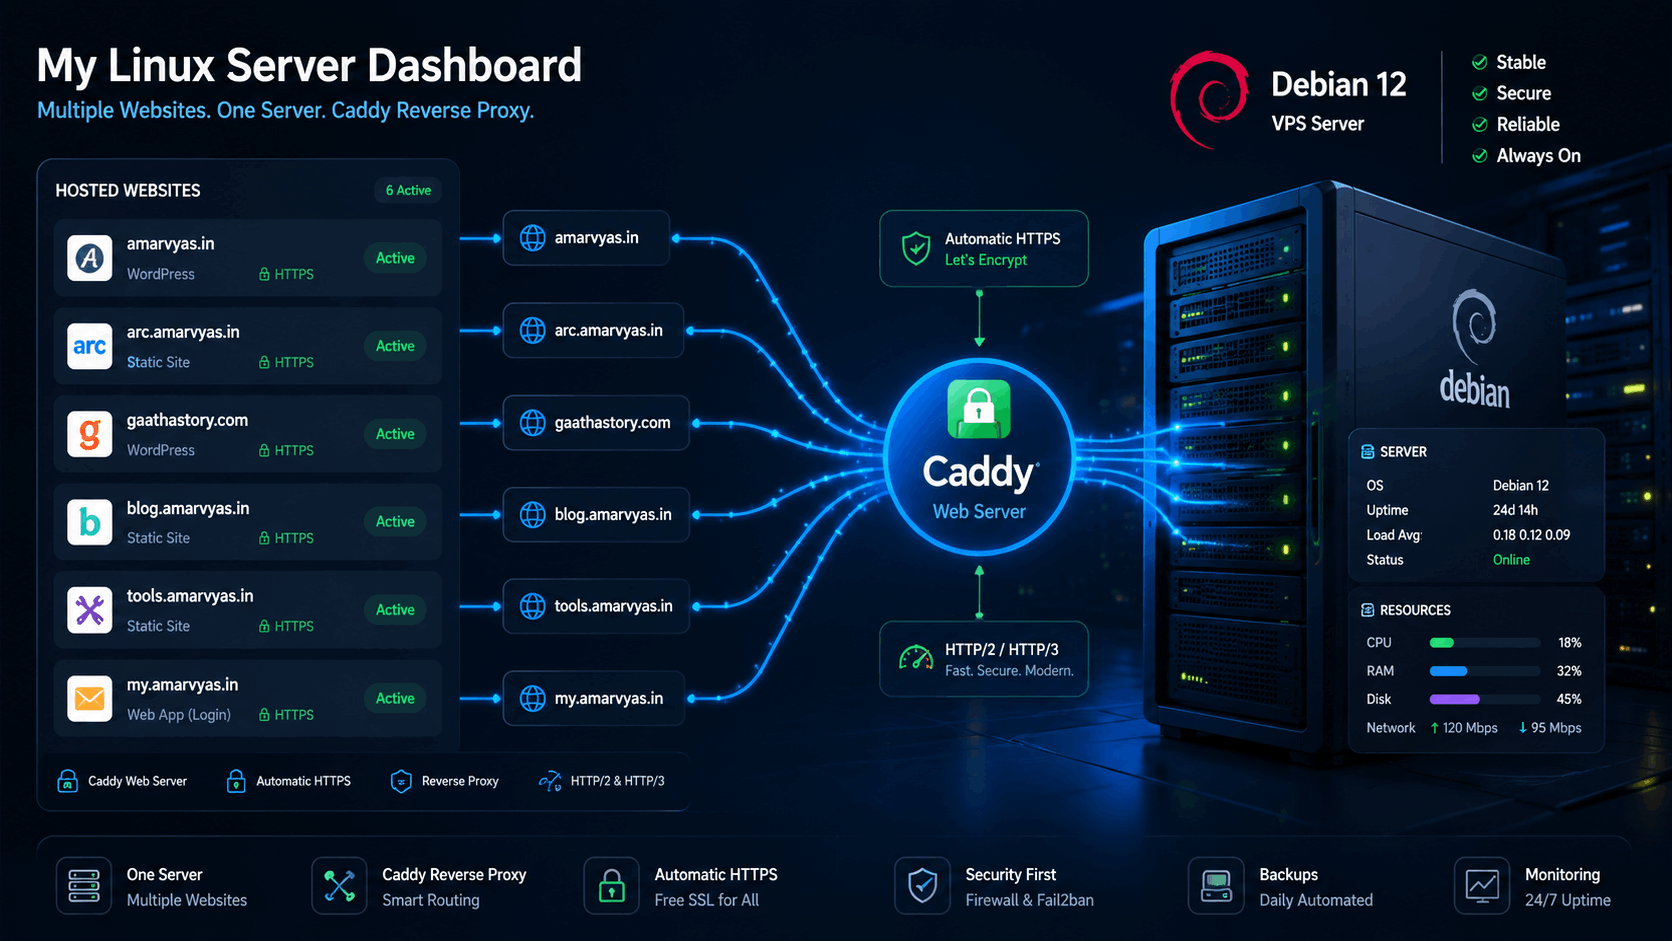
Installation Steps (Recommended Method)
1. Update System and Install Dependencies
Update your Debian/Ubuntu system and install the required packages for ClassicPress, PHP 8.3/8.4, and MariaDB.
$ sudo apt update && sudo apt upgrade -y
$ sudo apt install -y lsb-release ca-certificates apt-transport-https software-properties-common
"For Debian 13 (Trixie), PHP 8.4 is the default. To use PHP 8.3, add the Ondřej Surý (SURY) repository first. The commands below assume PHP 8.4 unless otherwise noted."
$ sudo wget -O /etc/apt/trusted.gpg.d/php.gpg https://packages.sury.org/php/apt.gpg
$ echo "deb https://packages.sury.org/php/ $(lsb_release -sc) main" | sudo tee /etc/apt/sources.list.d/php.list
$ sudo apt update
Install PHP 8.3/8.4 and required extensions:
$ sudo apt install -y php8.4 php8.4-cli php8.4-fpm php8.4-mysql php8.4-curl php8.4-gd php8.4-mbstring php8.4-xml php8.4-zip2. Install and Secure MariaDB
Install MariaDB and run the security script to set a root password and remove insecure defaults:
$ sudo apt install -y mariadb-server
$ sudo mysql_secure_installation
Log in to MariaDB and create a database and user for ClassicPress:
$ sudo mysql -u root -pRun the following SQL commands in the MariaDB shell:
CREATE DATABASE classicpress;
CREATE USER 'cp_user'@'localhost' IDENTIFIED BY 'your_strong_password';
GRANT ALL PRIVILEGES ON classicpress.* TO 'cp_user'@'localhost';
FLUSH PRIVILEGES;
EXIT;
3. Install Caddy Server
Add the official Caddy repository and install Caddy:
$ sudo apt install -y debian-keyring debian-archive-keyring apt-transport-https
$ curl -1sLf 'https://dl.cloudsmith.io/public/caddy/stable/gpg.key' | sudo gpg --dearmor -o /usr/share/keyrings/caddy-stable-archive-keyring.gpg
$ echo "deb [signed-by=/usr/share/keyrings/caddy-stable-archive-keyring.gpg] https://dl.cloudsmith.io/public/caddy/stable/deb/debian any-version main" | sudo tee /etc/apt/sources.list.d/caddy-stable.list
$ sudo apt update
$ sudo apt install -y caddy
Verify the installation and enable Caddy to start on boot:
$ caddy --version
$ sudo systemctl start caddy
$ sudo systemctl enable caddy
4. Install ClassicPress
Download and extract ClassicPress to your web directory (e.g., /var/www/classicpress):
$ cd /var/www
$ sudo wget https://classicpress.net/latest.tar.gz
$ sudo tar -xzvf latest.tar.gz
$ sudo mv classicpress* classicpress
$ sudo chown -R www-data:www-data /var/www/classicpress
5. Configure Caddy for ClassicPress
Edit the Caddyfile to point to your ClassicPress directory and enable PHP-FPM:
$ sudo nano /etc/caddy/CaddyfileAdd the following configuration (replace your_domain.com with your actual domain or server IP):
your_domain.com {
    root * /var/www/classicpress
    php_fastcgi unix//var/run/php/php8.4-fpm.sock
    file_server
}
Restart Caddy to apply changes:
$ sudo systemctl restart caddy6. Complete ClassicPress Setup
Visit http://your_domain.com in a browser and follow the ClassicPress installer prompts. Use the database name, username, and password you created earlier.
Classic Method
The Classic Method reflects the original 2019–2020 process, where PHP 7.4 was the standard. The steps were nearly identical, but the commands for PHP installation used apt install php7.4 and related extensions instead of PHP 8.x.Additionally, Caddy was installed manually by downloading the binary from the official website and placing it in /usr/local/bin, rather than using the Cloudsmith repository. The Caddyfile configuration and ClassicPress setup remained the same.
Troubleshooting Common issues
- Caddy fails to start: Check logs with
sudo journalctl -u caddy -f. Common causes: incorrect file permissions or missing PHP-FPM socket. - HTTPS issues: Ensure DNS points to your VPS IP and ports 80/443 are open.
- MariaDB errors: Verify the database user has correct privileges and the password matches your ClassicPress configuration.
Frequently Asked Questions
click to read the below section
Q: Can I use PHP 8.5 or newer? A: This guide focuses on PHP 8.4, as it’s the most stable version for Debian 13 at the time of writing. PHP 8.5 may work but isn’t officially supported yet.
Q: Does this work on Ubuntu 26.04?
A: Yes, the steps are nearly identical. Replace lsb_release -sc with noble if using Ubuntu 26.04, and ensure you use the correct PHP version available in its repositories.
Q: What if my domain isn’t ready yet?
A: Use a temporary domain or your server’s IP to test. Replace the domain in the Caddyfile with your IP (e.g., http://your_server_ip) and update it later.
Q: How do I update ClassicPress?
A: ClassicPress updates via its admin dashboard. Ensure file permissions allow the web server to write to /var/www/classicpress (e.g., sudo chown -R www-data:www-data /var/www/classicpress).
Q: Can I use these steps to install WordPress? A: Yes, but ClassicPress is recommended for its traditional TinyMCE editor. WordPress now uses Gutenberg, which may not align with this setup’s goals.
Q: Which PHP versions does Caddy support? A: Caddy supports PHP 7.4 and above, with optimal performance on PHP 8.3/8.4. Older versions like PHP 5.6 to 7.3 are deprecated and not recommended due to security risks.
Q: What MySQL version is required? A: MySQL 5.6 or higher (or MariaDB equivalent).
Q: Is Caddy compatible with the latest ClassicPress? A: Yes, Caddy supports ClassicPress v2 and above.
Advantages and Limitations of Caddy Server
If you are comparing Caddy against established alternatives like Nginx and Apache2, consider the following benefits and drawbacks to finalise your decision. For simplicity and ease of use, Caddy remains an excellent choice, particularly for beginners or those who prioritise automated HTTPS provisioning.
Pros and Cons of ClassicPress
Pros: Simplicity, automatic HTTPS, and modern features (HTTP/2, HTTP/3) make Caddy ideal for beginners or those prioritizing ease of use.
*Cons**: Smaller community and limited granular customization compared to Nginx/Apache.
Extra: Additional Security Steps
# ============================================ # SECURITY HEADERS # ============================================header { X-Frame-Options "SAMEORIGIN" X-XSS-Protection "1; mode=block" X-Content-Type-Options "nosniff" Referrer-Policy "strict-origin-when-cross-origin" Permissions-Policy "geolocation=(), microphone=(), camera=()" Strict-Transport-Security "max-age=31536000" }
============================================
BLOCK PHP EXECUTION IN UPLOADS
============================================
@php-upload path_regexp php-upload /wp-content/uploads/.*\.php respond @php-upload 403
============================================
BLOCK AUTHOR ENUMERATION
============================================
@block-author query author=* respond @block-author 403
============================================
BLOCK XML-RPC
============================================
@xmlrpc path /xmlrpc.php respond @xmlrpc 403
============================================
GENERAL HARDENING
============================================
Disable directory listing
file_server browse off
Disable TRACE
@trace method TRACE respond @trace 403
============================================
STATIC CACHING IMPROVEMENTS
============================================
header { Cache-Control max-age=31536000,public }
Brotli + Gzip automatically enabled in Caddy
Takeaways:
While this guide focuses on Debian 13 (Trixie) and PHP 8.4, the steps may apply to other Linux distributions, including Ubuntu 26.04. A personal goal is to test this setup on Alpine Linux for a lightweight, low-resource deployment.
References
- Caddy Server Official Documentation. Caddyfile Concepts and Directives. Available at: https://caddyserver.com/docs/caddyfile
- ClassicPress Documentation. Installation Guides and System Requirements. Available at: https://docs.classicpress.net/
- Caddy Community. Official community forum for Caddy Server users. Available at: https://caddy.community
- ClassicPress Community. Official forums for ClassicPress users. Available at: https://forums.classicpress.net